Holiday Quilting, now with Live Stitchcam
(NOTE: After writing this blog post I re-did exactly the same designs in the same fabric, but with much thicker batting in the second stage. This came out a lot better, so I've replaced most of the photos in the blog post with the new version. There's a gallery at the end with all of both versions.)
About a year ago my girlfriend Nina Paley got a giant robotic quilting machine, which she named Behemoth. We've been doing various projects with it, which you can read about at PaleGray Labs and Quilt Bank. For example, here it is stitching a 10x$1000 quilt.
Sometimes it runs for hours at a time without attention, but at any moment the thread may break. To avoid having to be there all the time watching for problems, we installed a webcam pointed at it, so we can check any time whether it's still going. And now you too can watch the PaleGray Labs Stitchcam any time you like! (There's nothing running at the moment this was posted, but we'll be starting a new quilt tonight or tomorrow. There's an email list on the Stitchcam page you can sign up for to be notified of impending stitching action.)
Mostly Behemoth has been a Nina project, with me just being the lowly stitchcoder who turns her dreams into sequences of base-3 encoded (x,y) coordinate pairs to be fed to the machine. (Also I oil it.)
But sometimes I do my very own projects, and I'm very pleased with the one I just did over the New Year's holiday. I had a sudden notion that it might be possible to do something you can't do with our smaller embroidery machine: Take the fabric entirely out of the frame, do something with it, then put it back in exactly the same position, so new stitches can be added in near-perfect alignment with the old ones.
I decided to try doing this by tracing the outline of each of the few dozen camps that hold the fabric in place (you can see the clamps and outlines drawn on the fabric on the right side of this photo). My reasoning being that the position of the fabric in these clamps is the only thing that determines its location within the machine, and there's no reason I shouldn't be able to line up the marks and get it back to within a couple of mm of its original position.
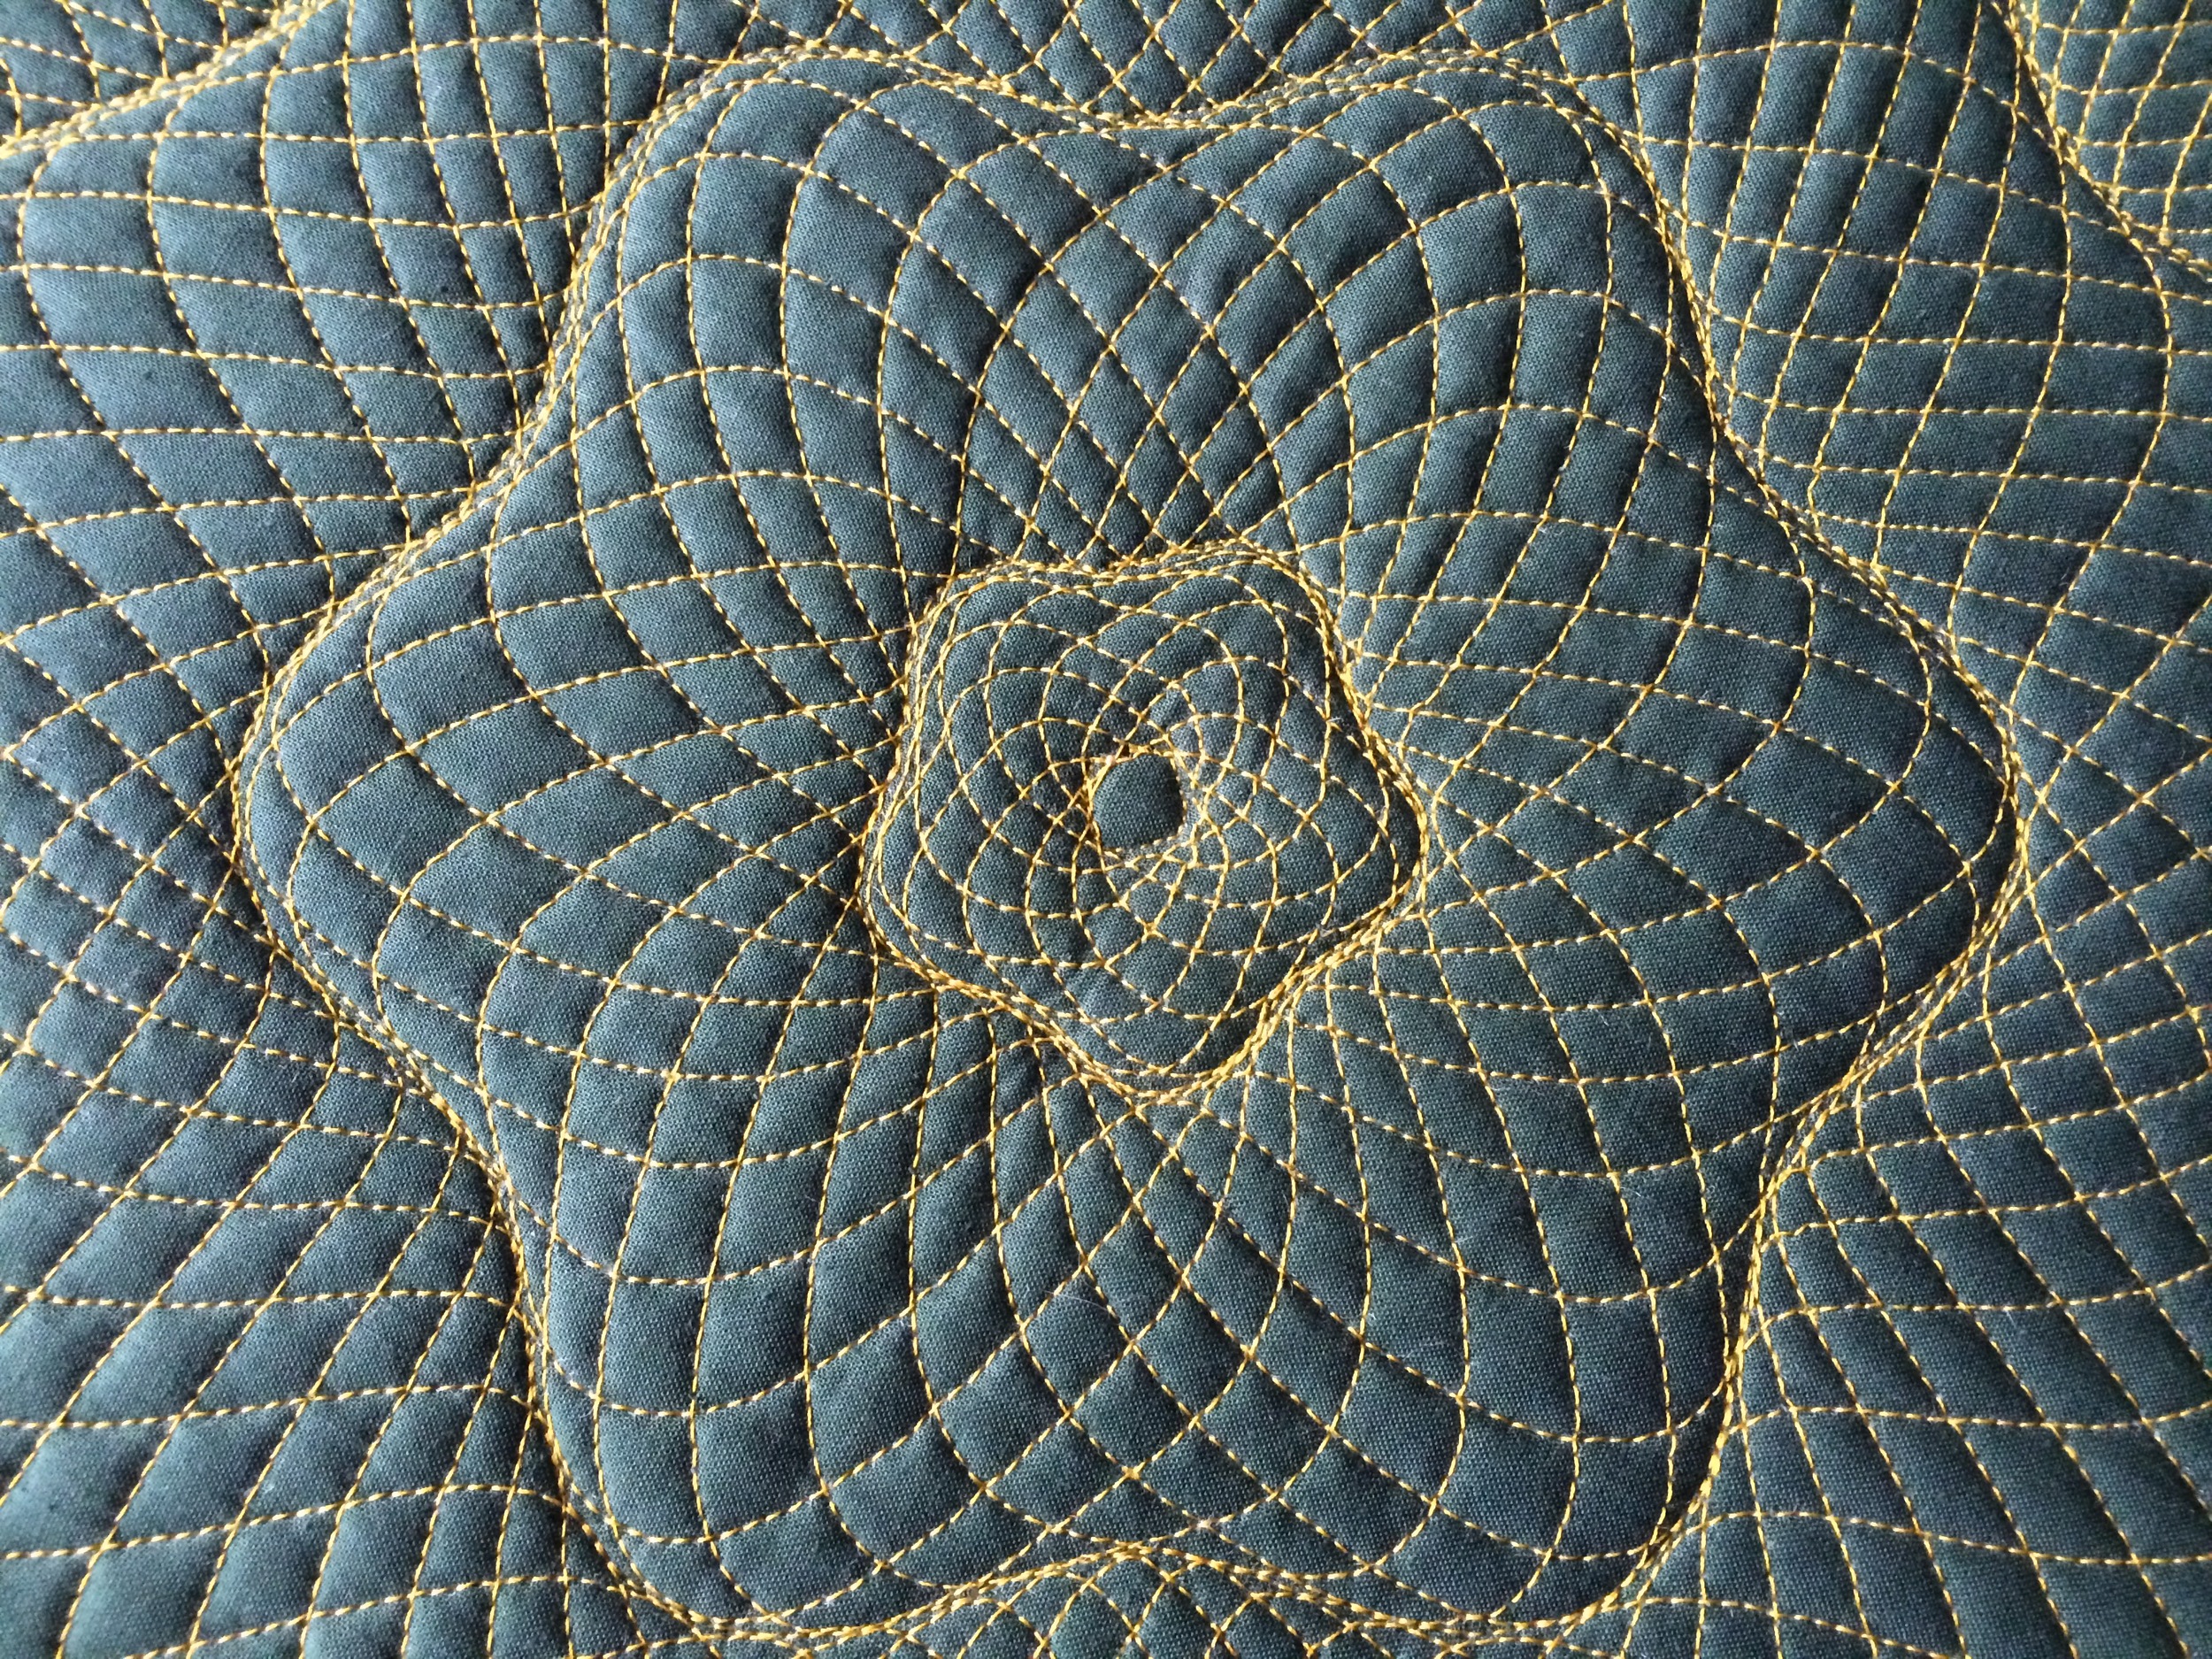
This turns out to be correct! Alignment between old and new stitches is never quite perfect because the fabric inevitably stretches as stitches are added, but between the oldest and newest stitches I got alignment over the whole field within 4mm, and in many places within 1-2mm. With as many stitches as this project had, that's as good as it can do even if you don't take the fabric out in-between.
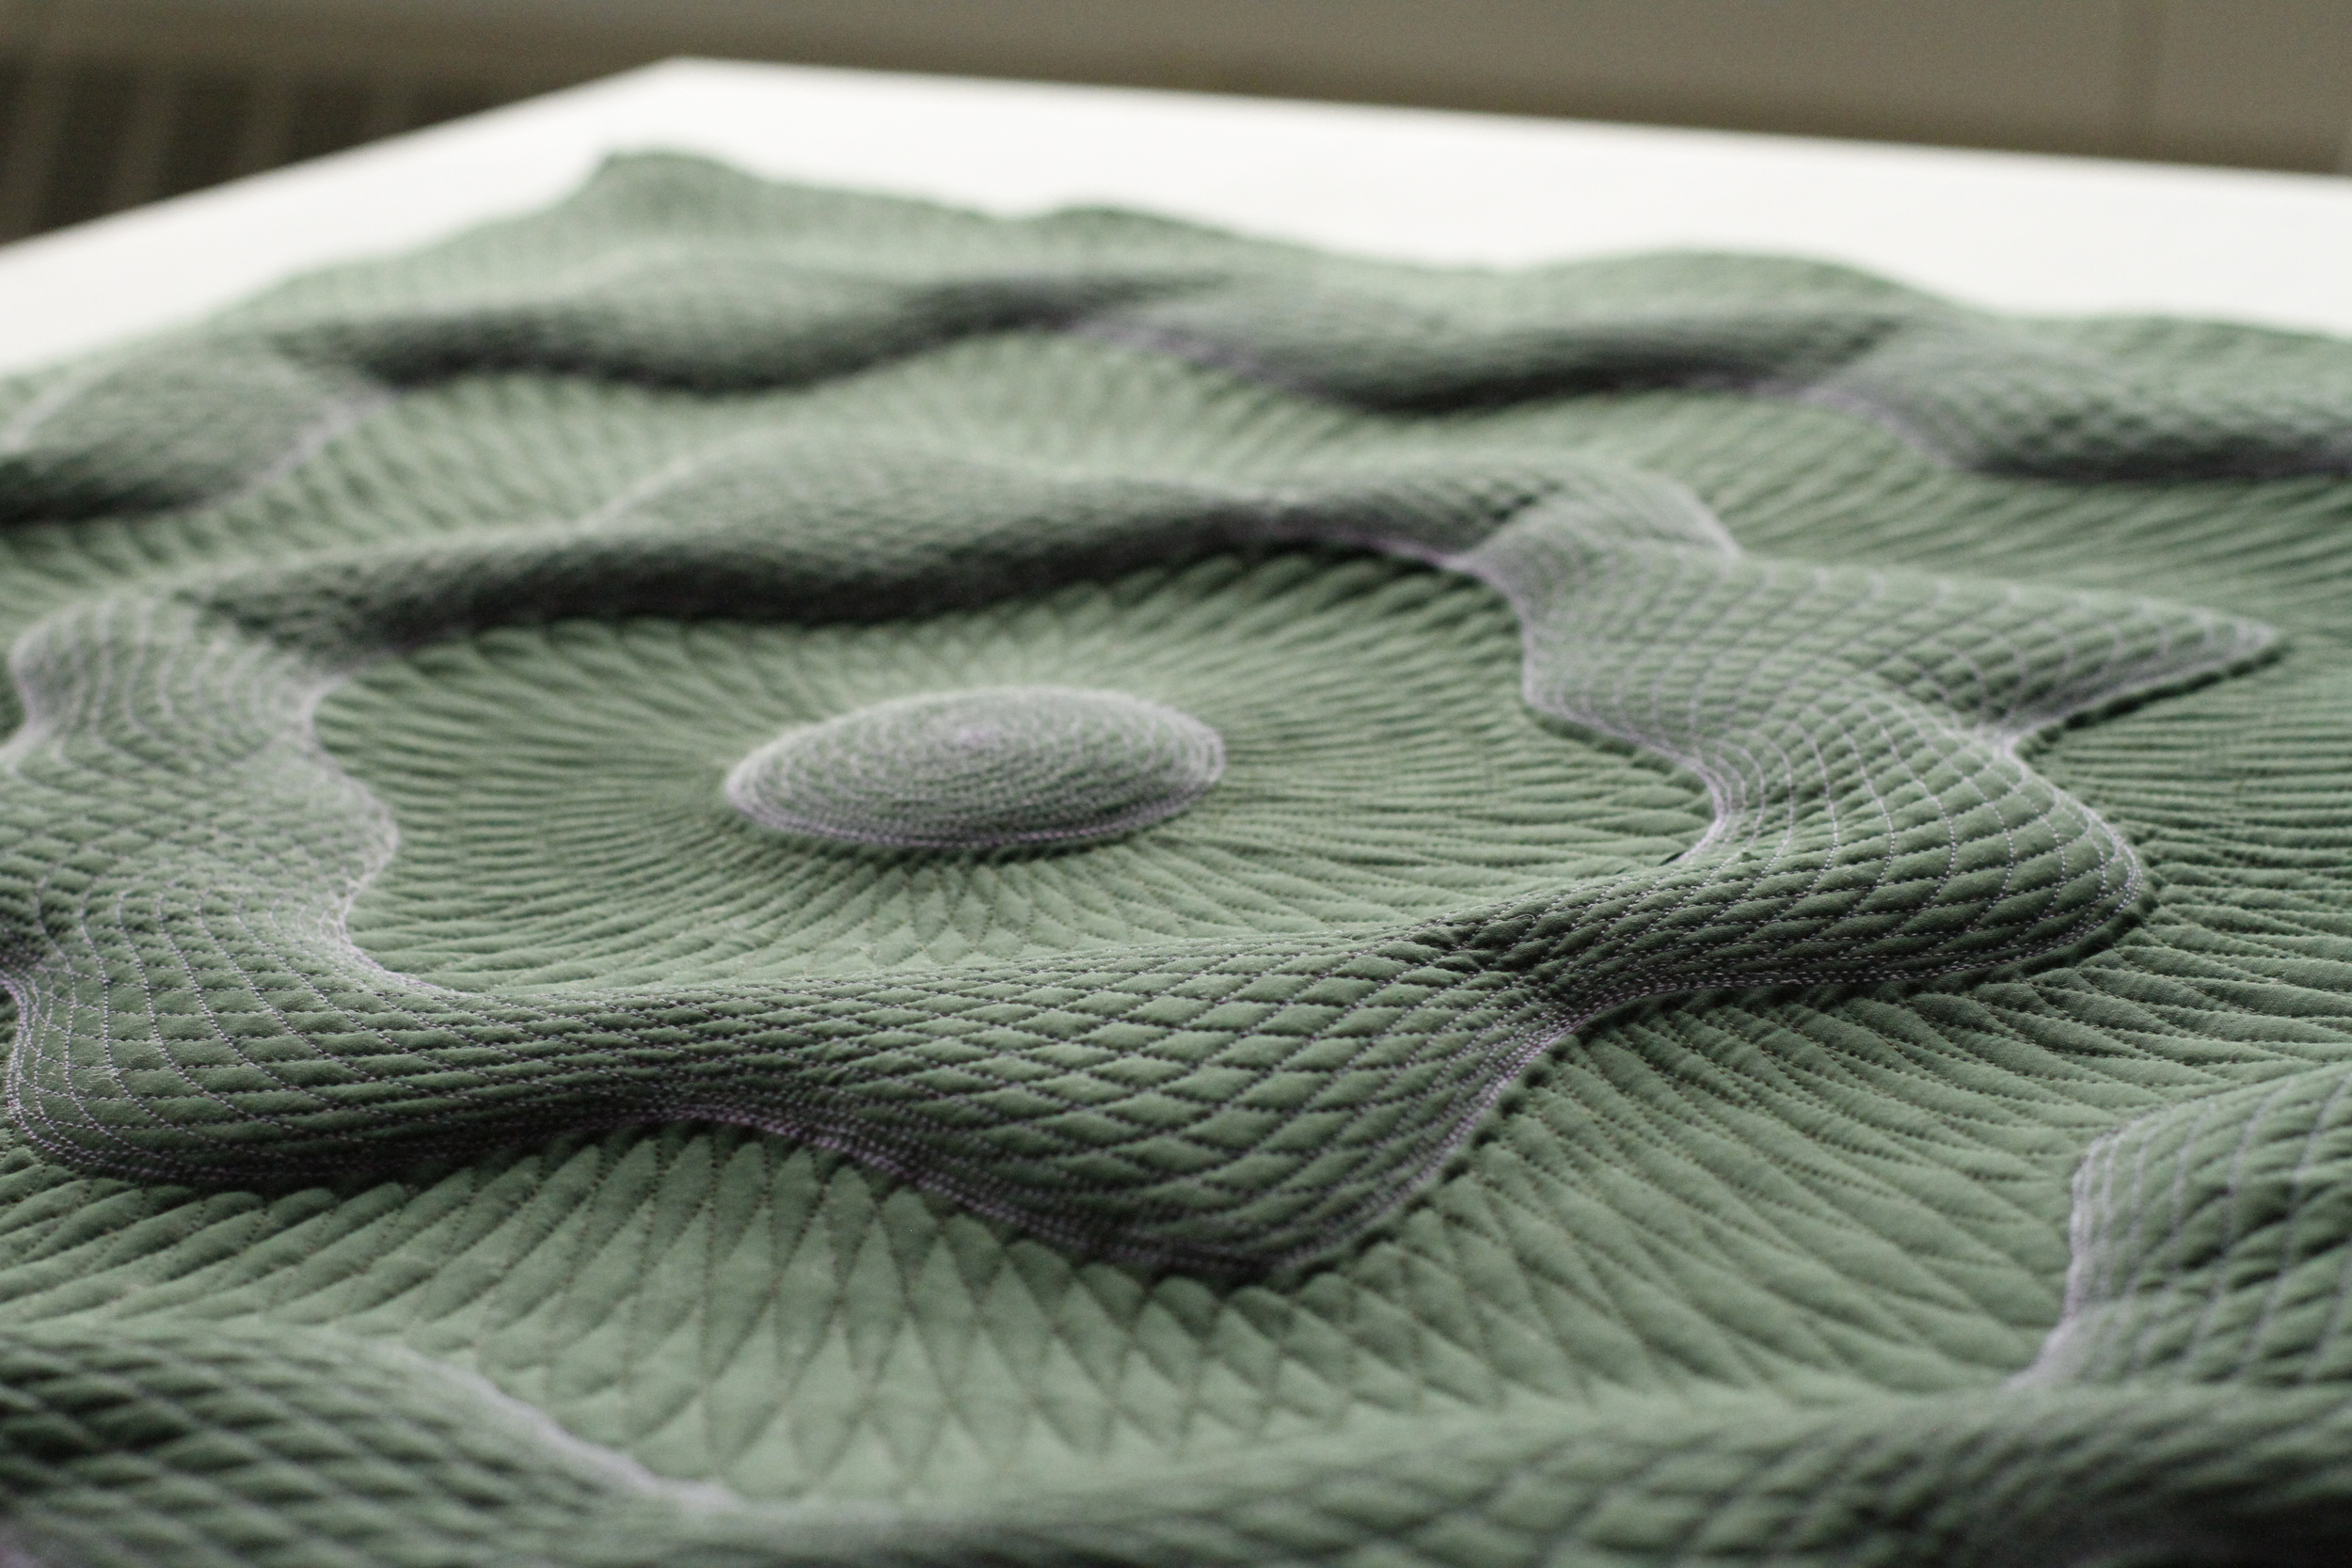
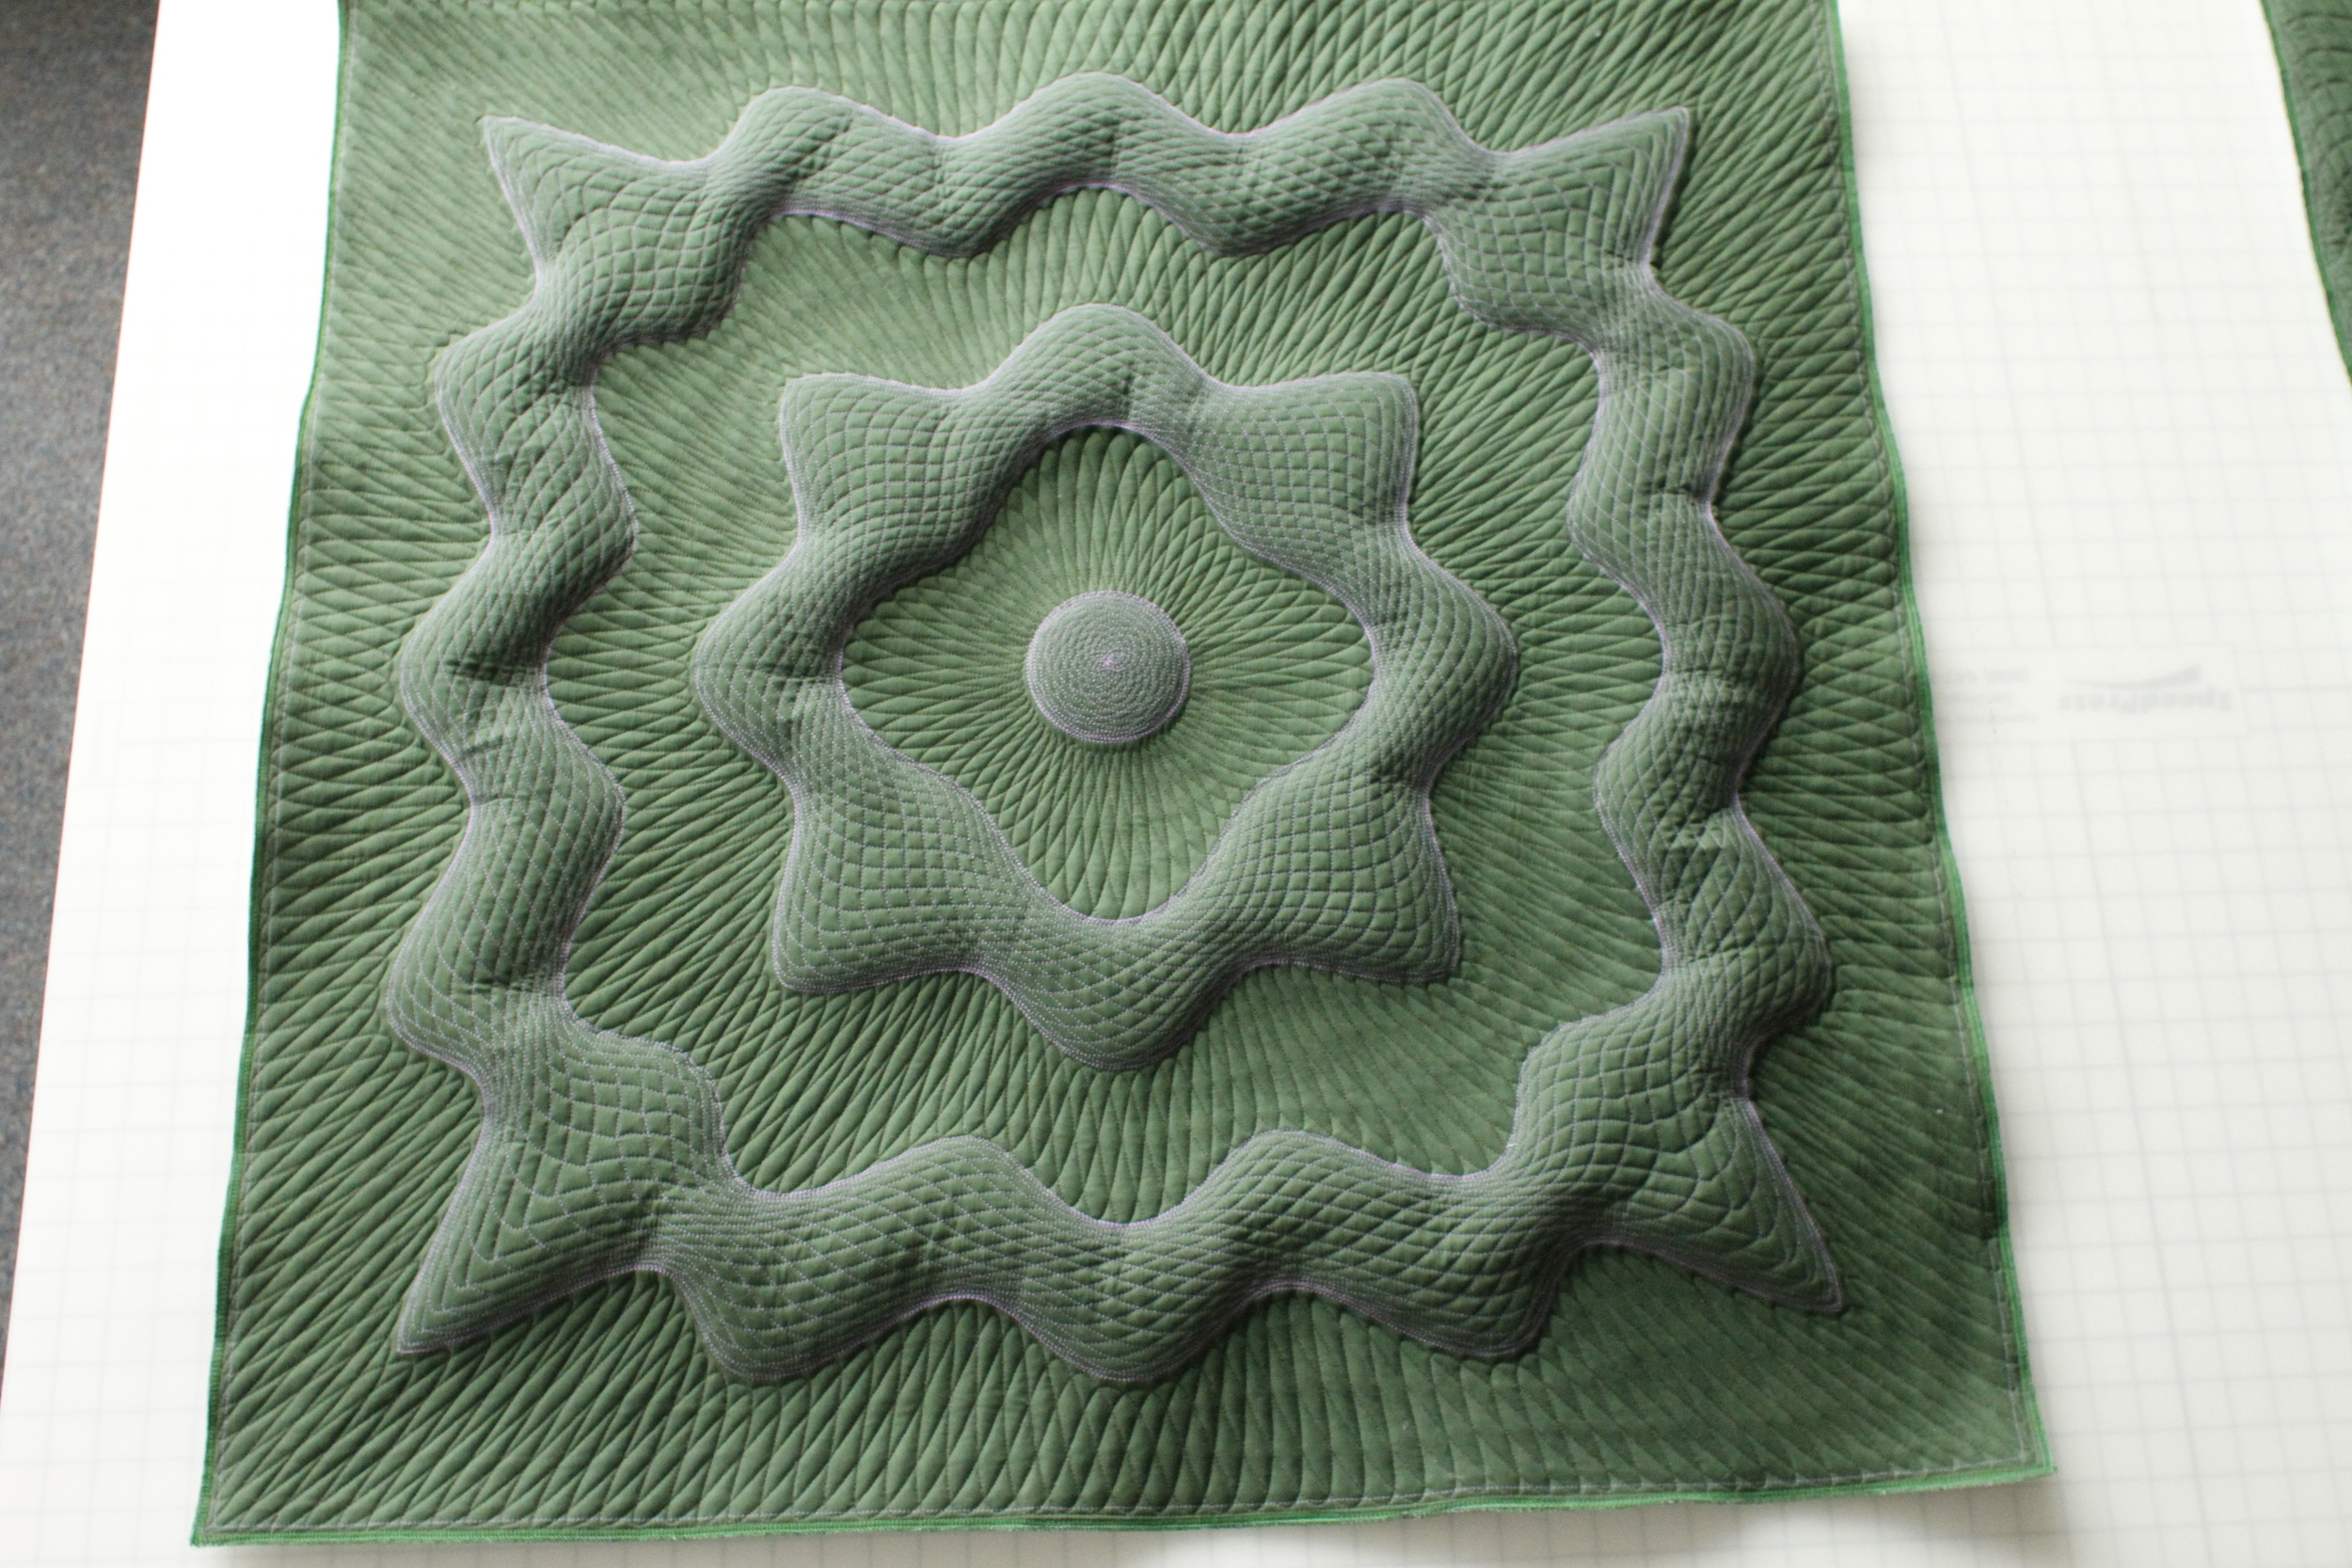
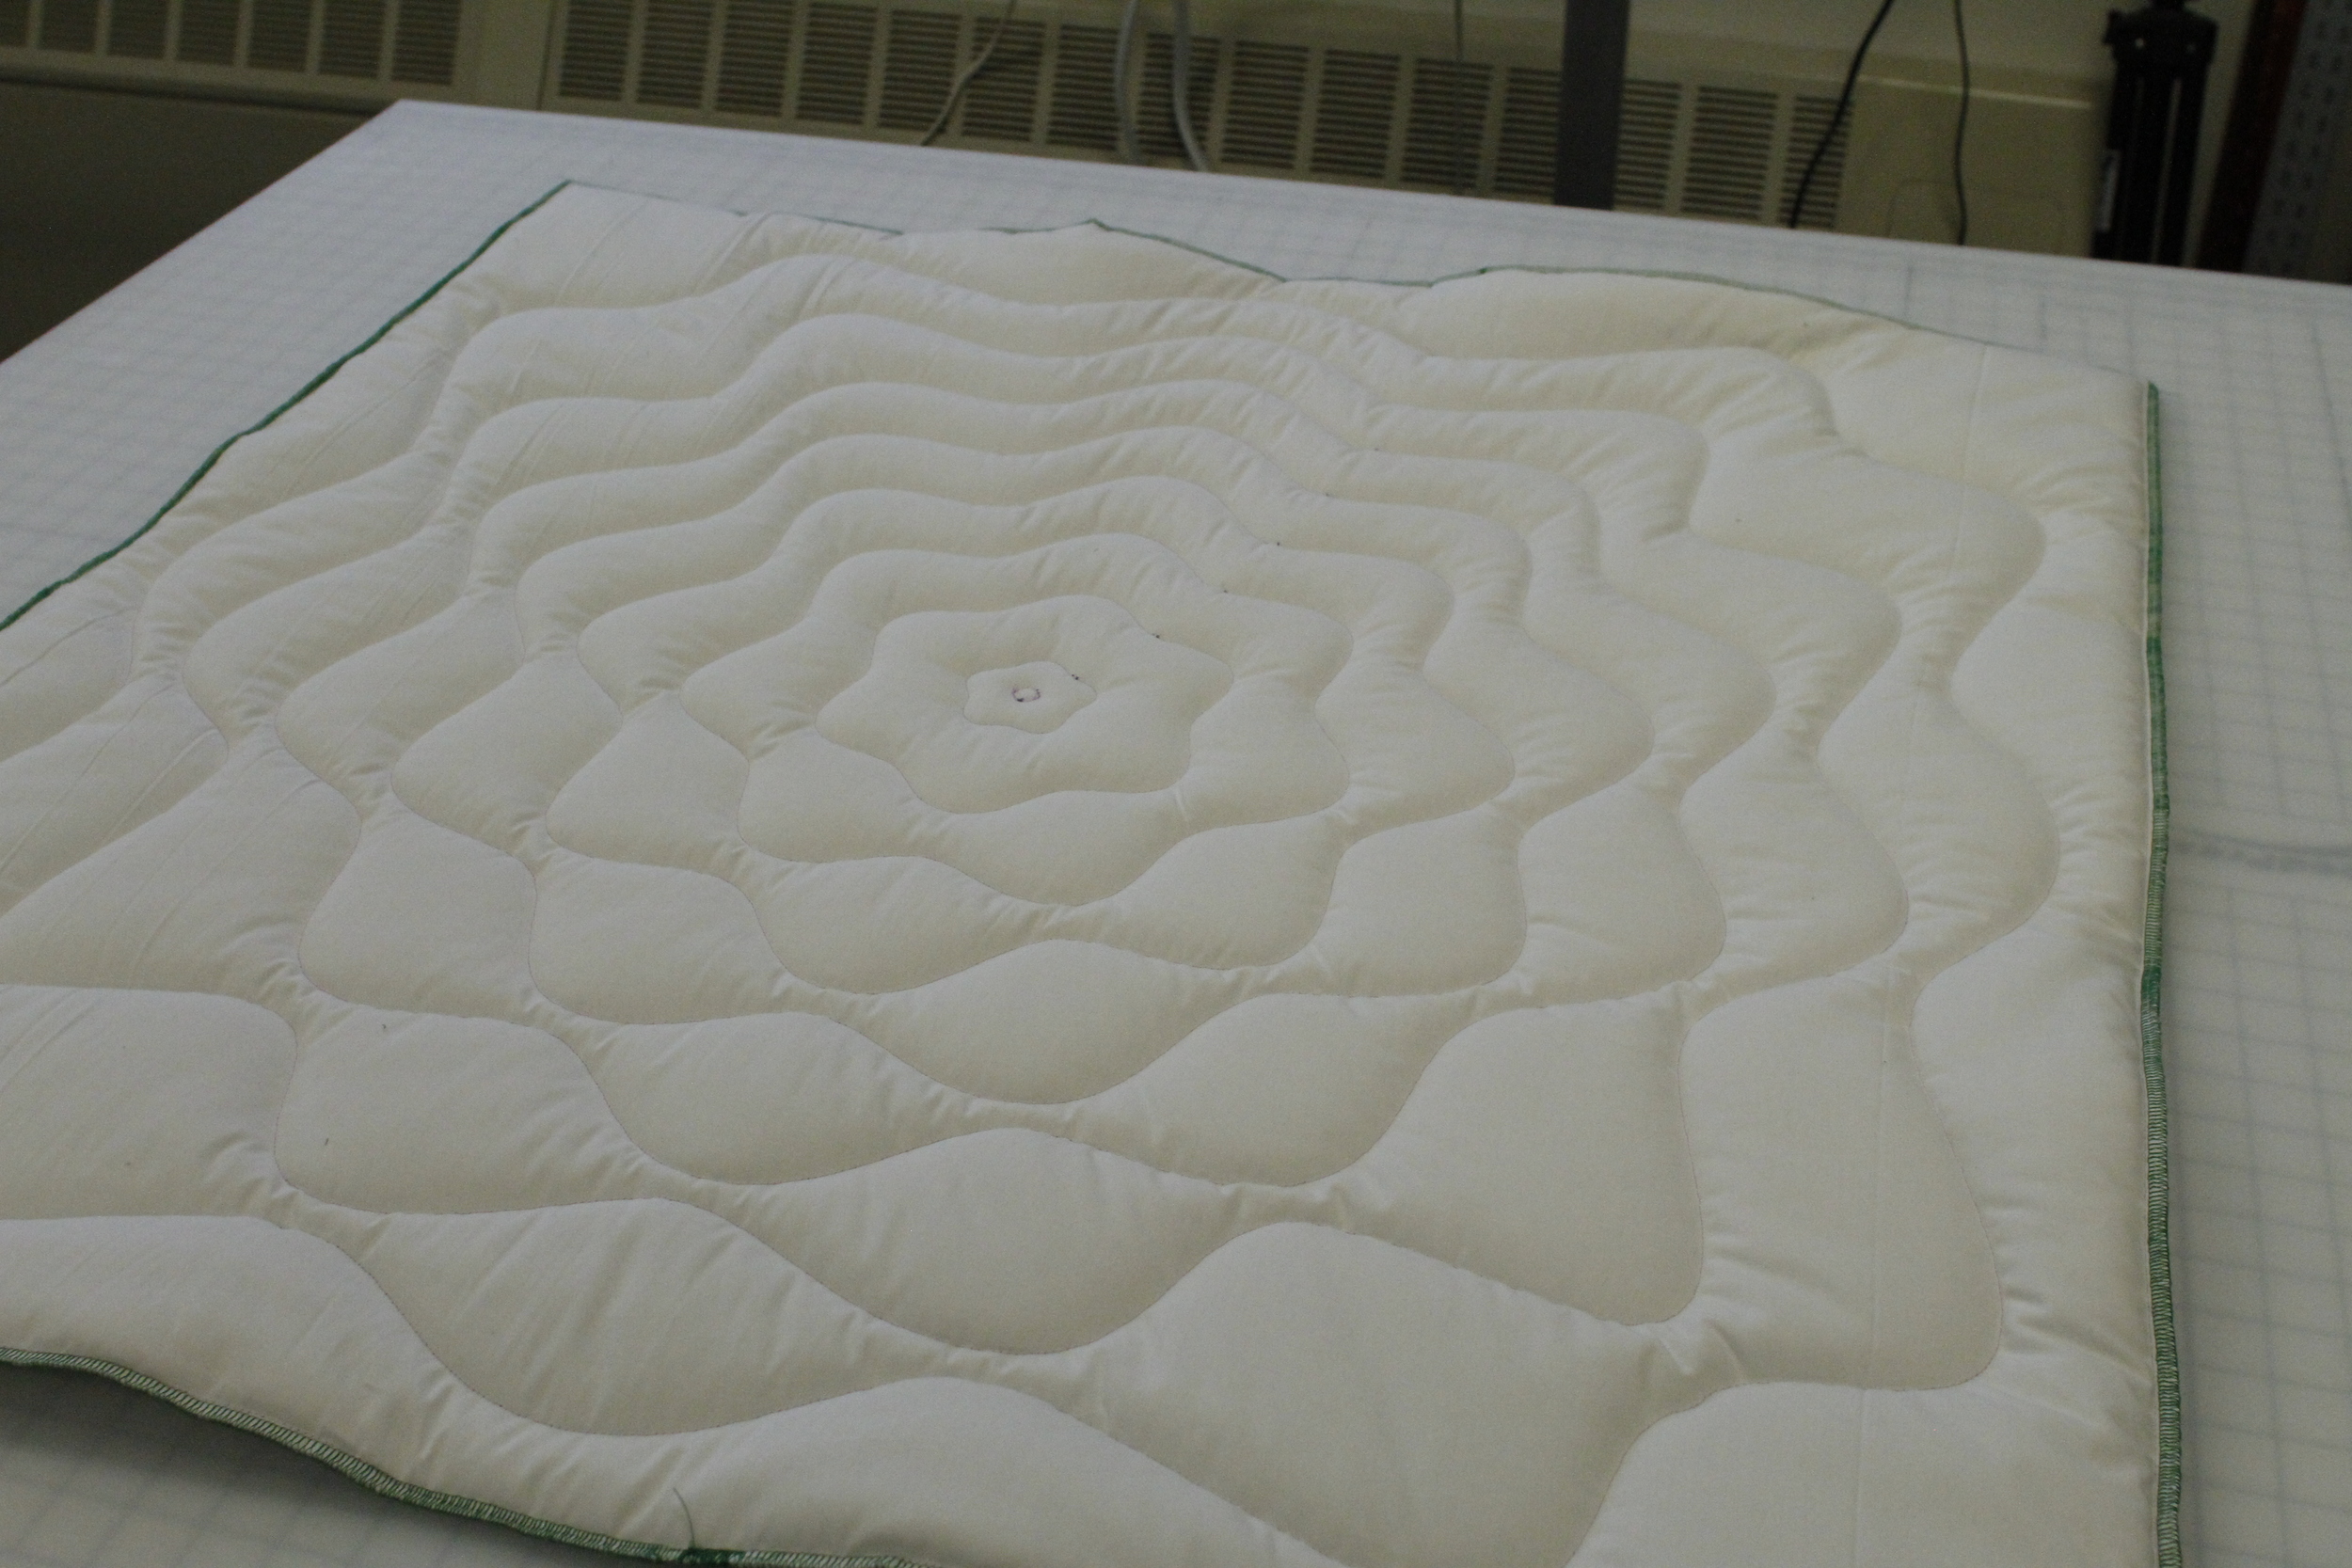
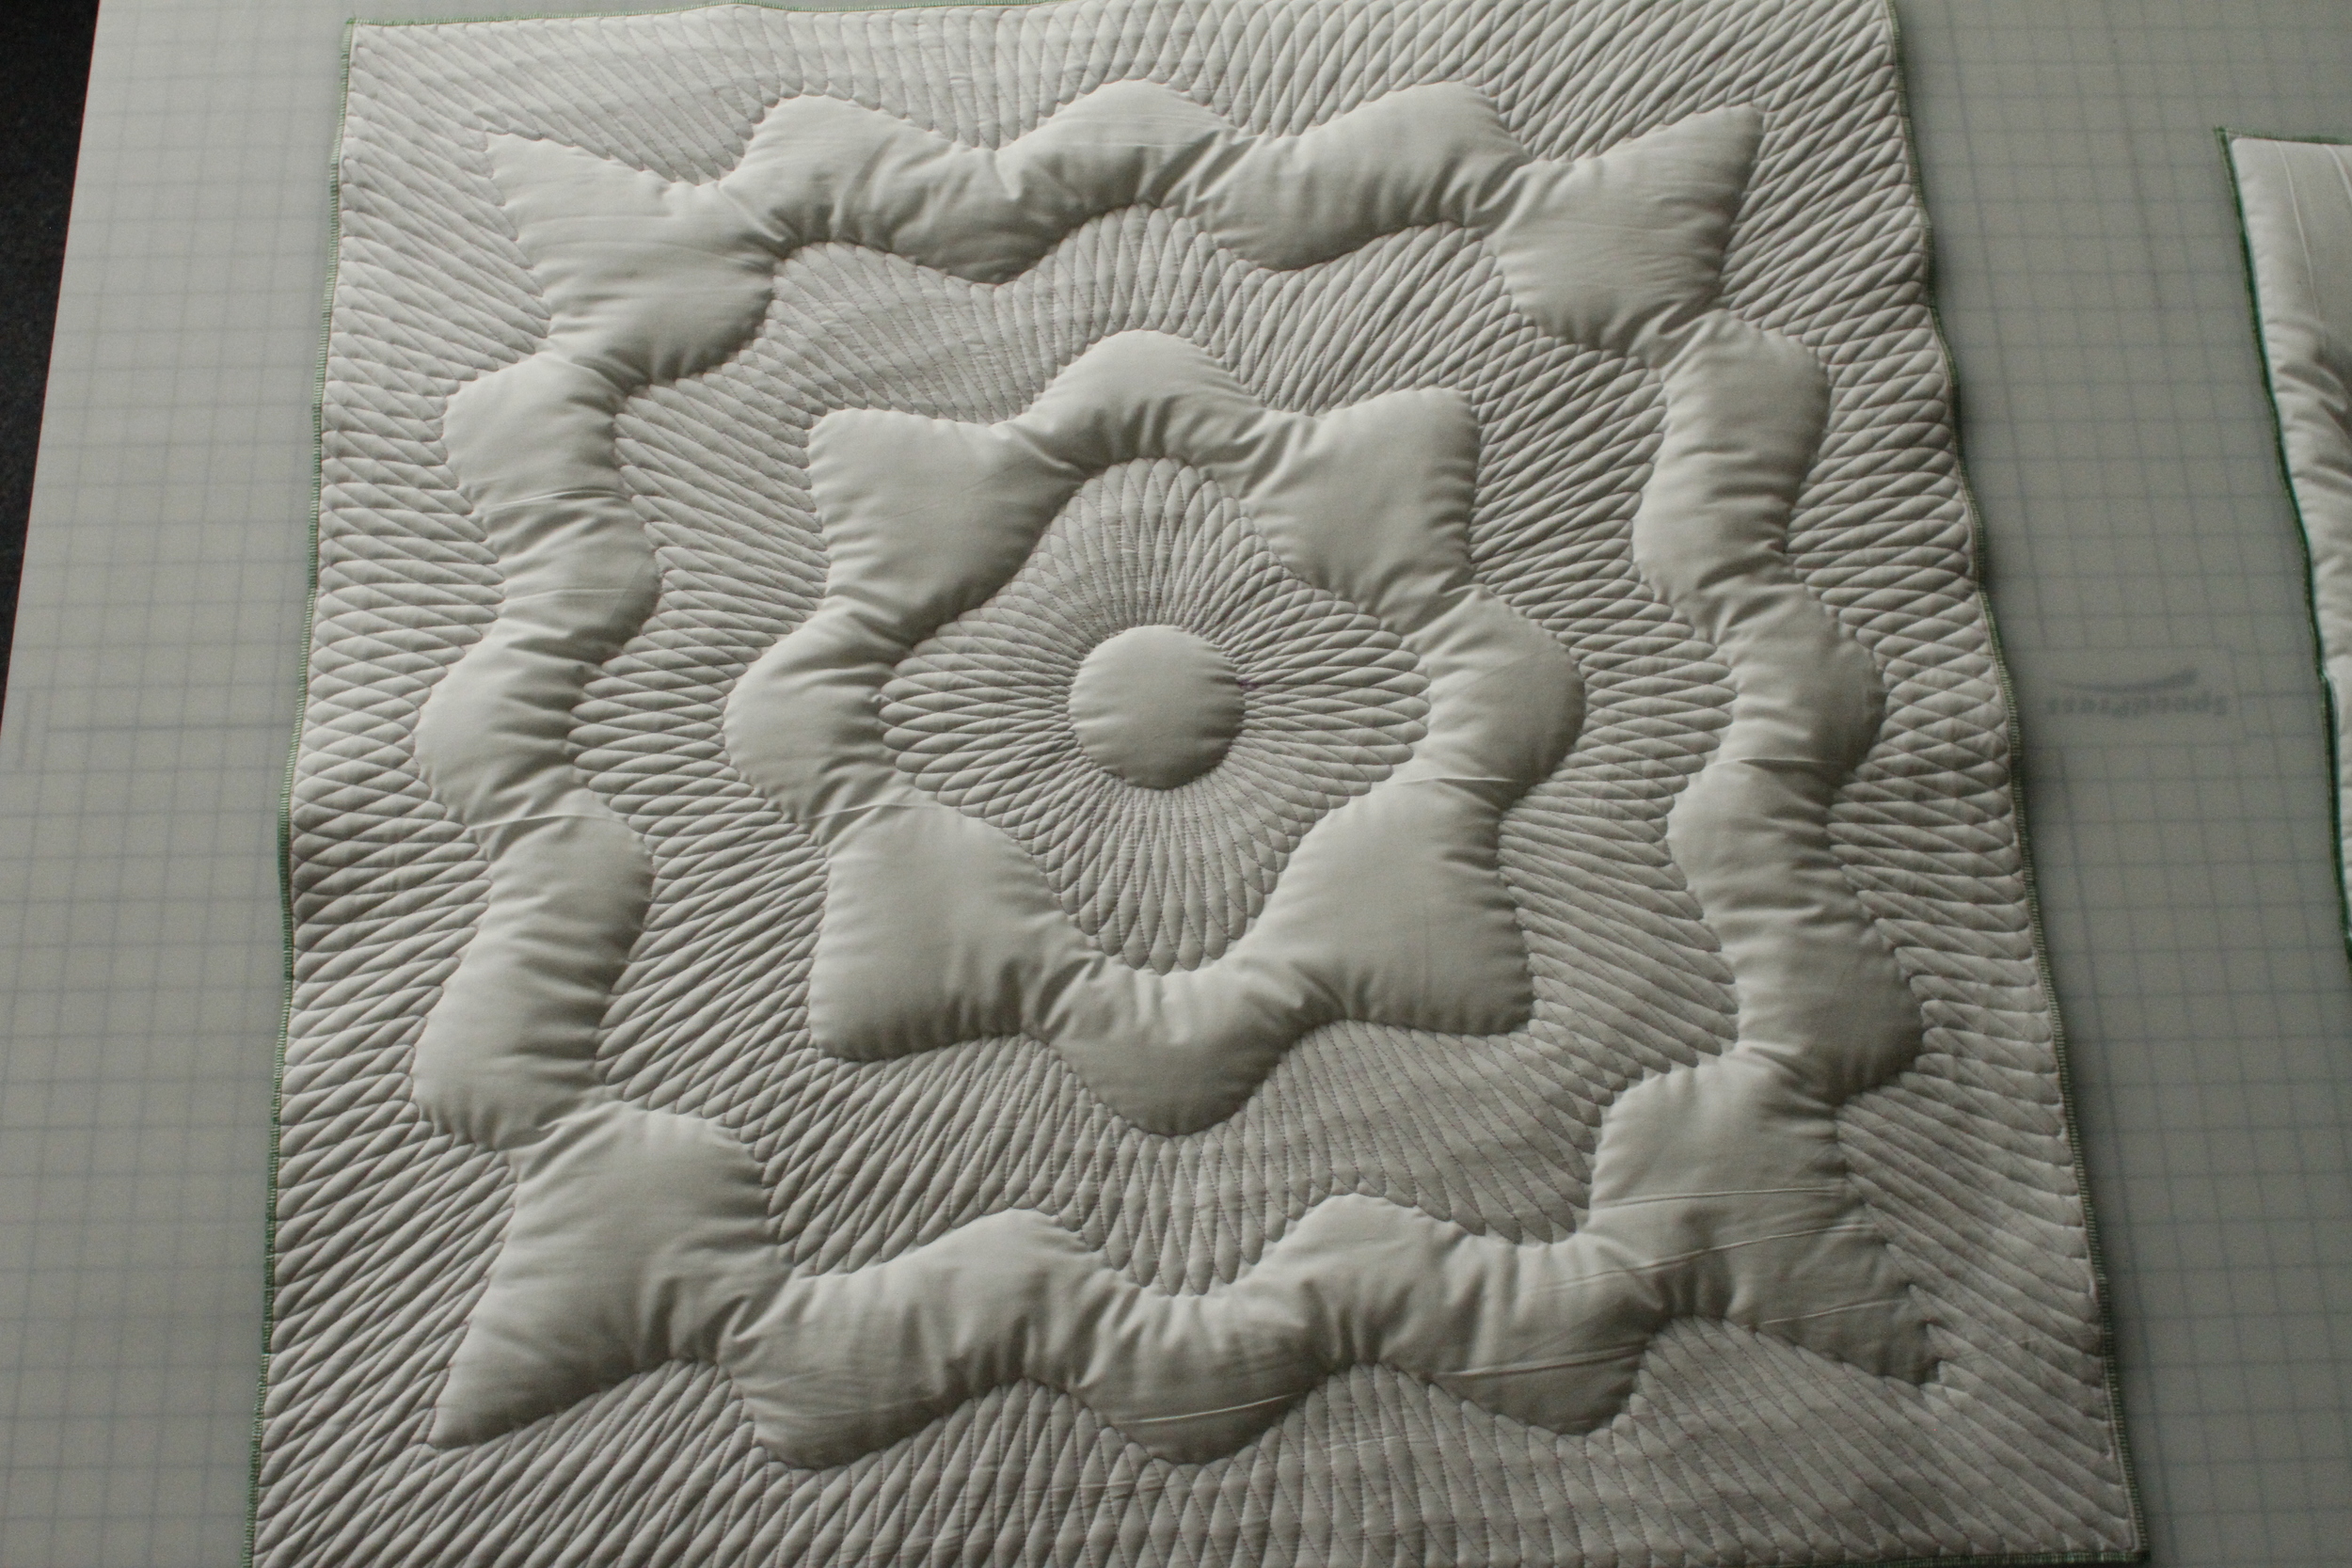
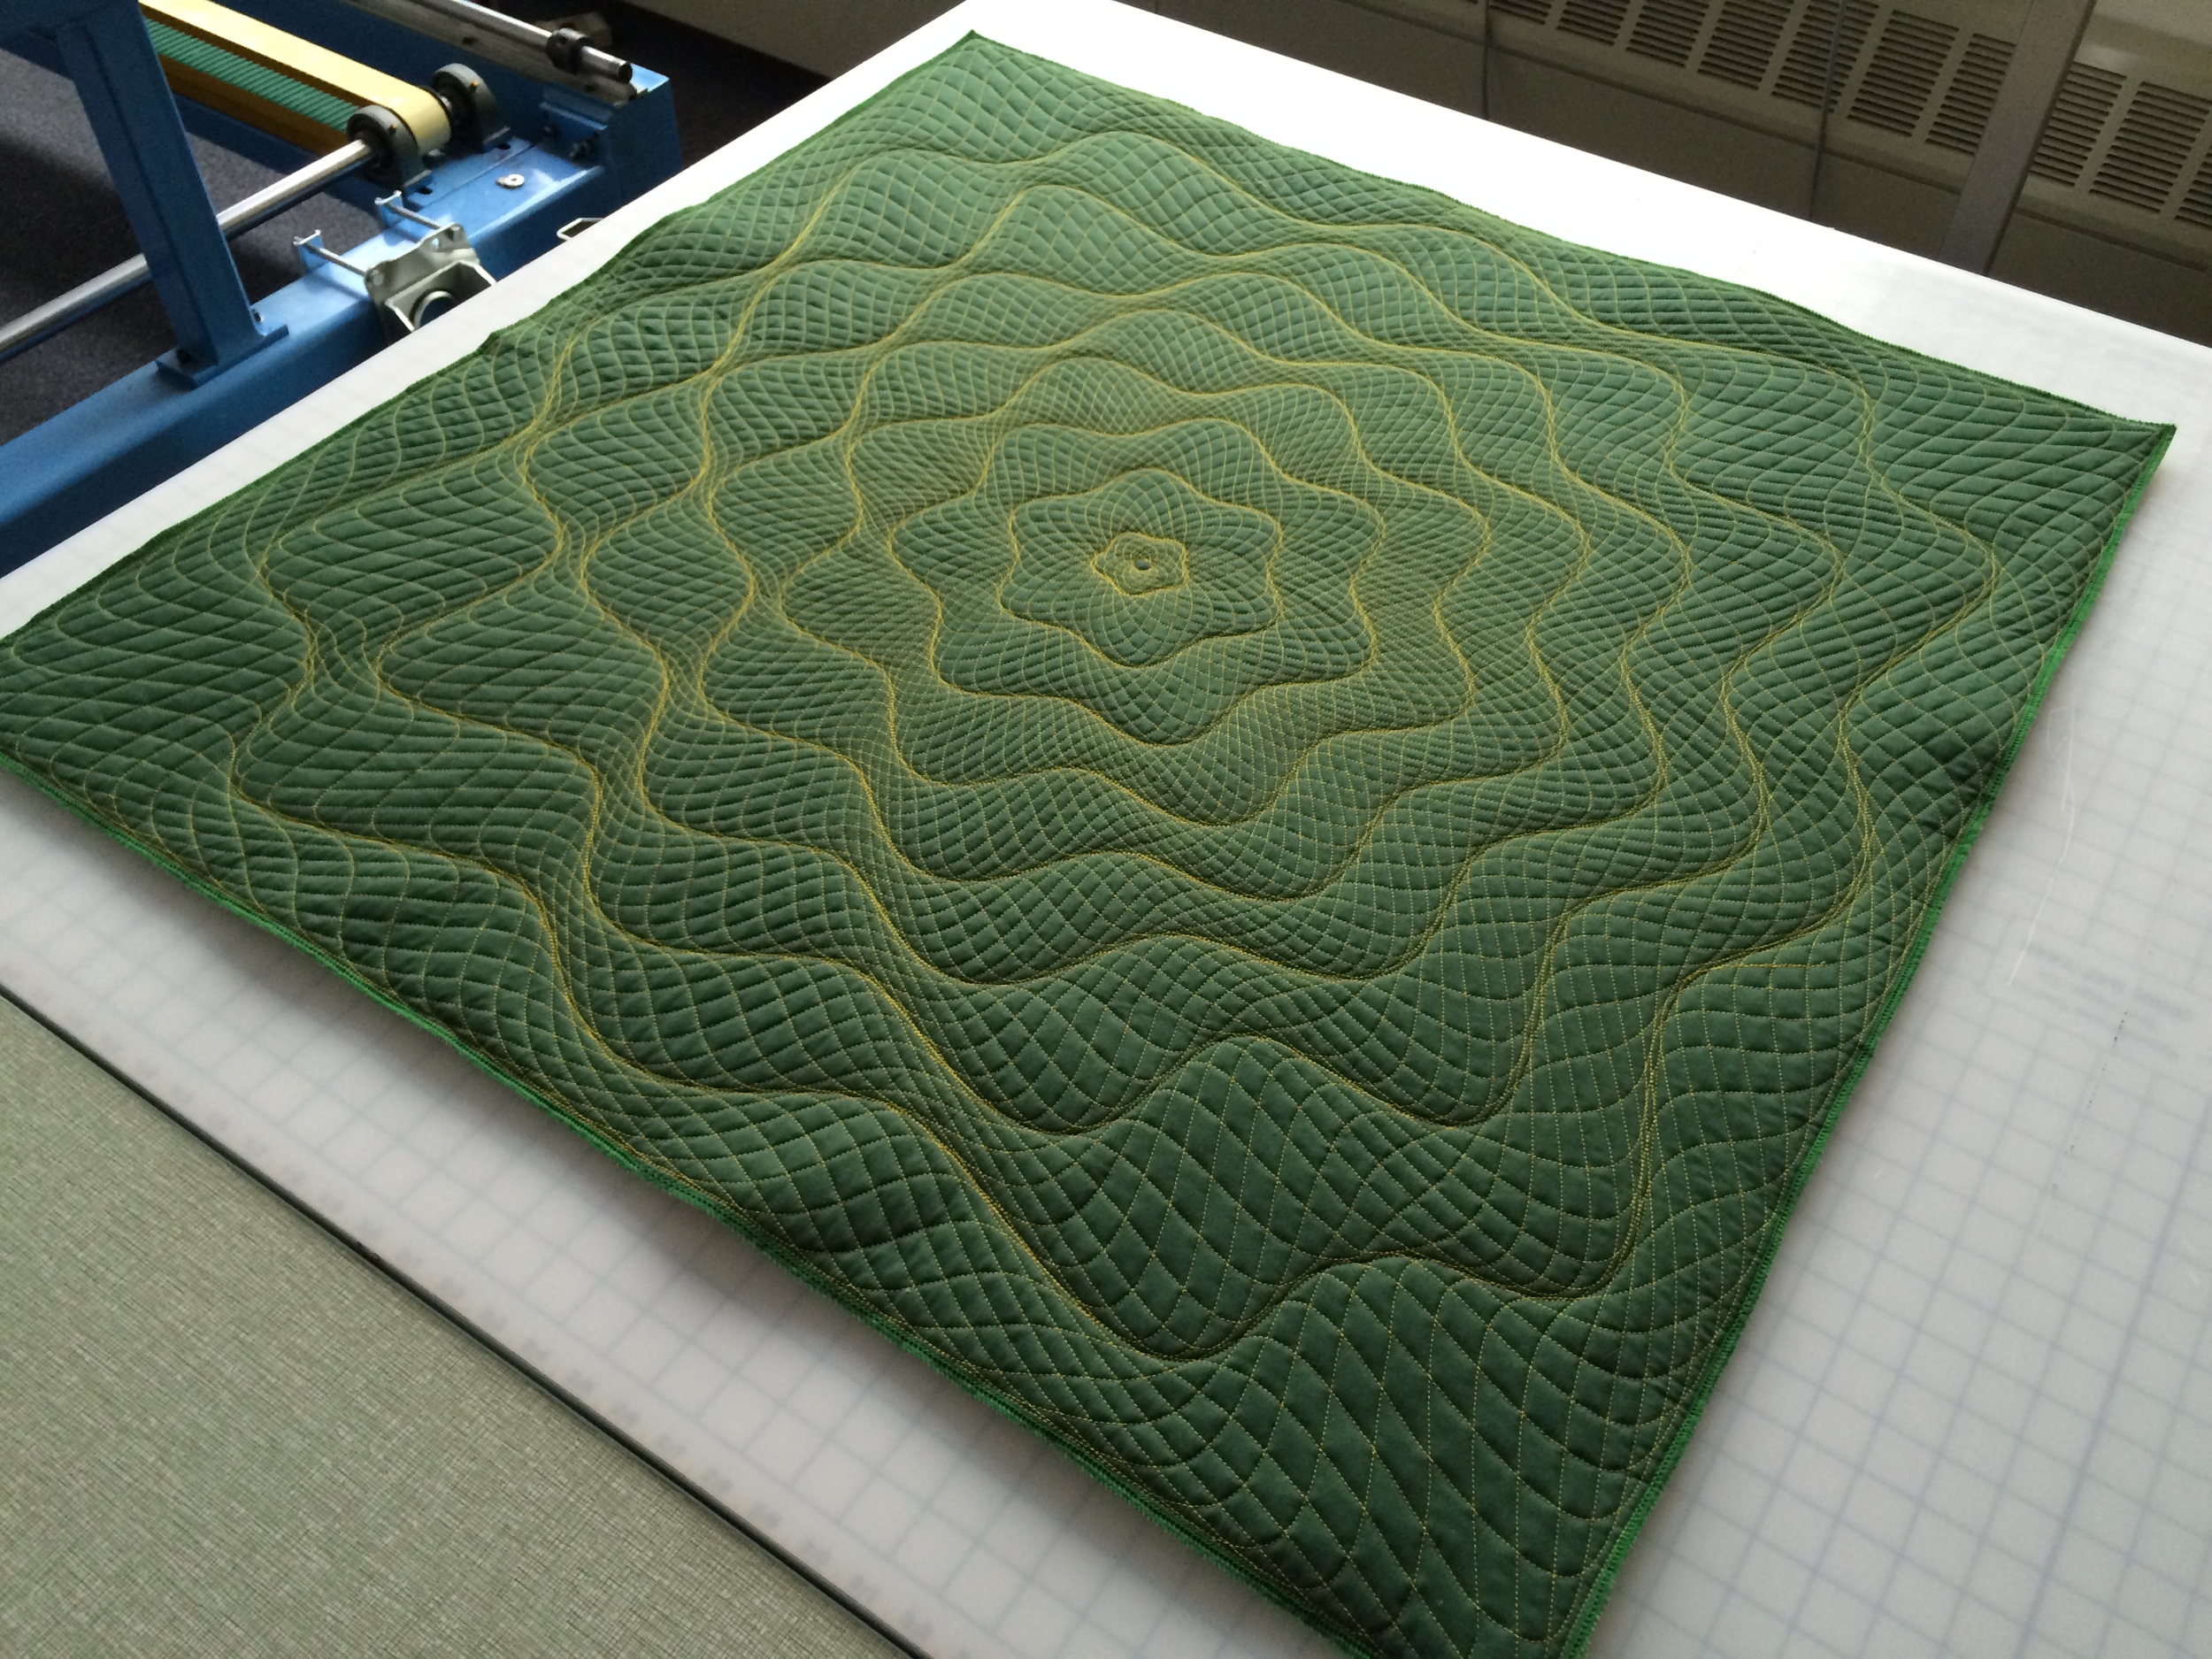
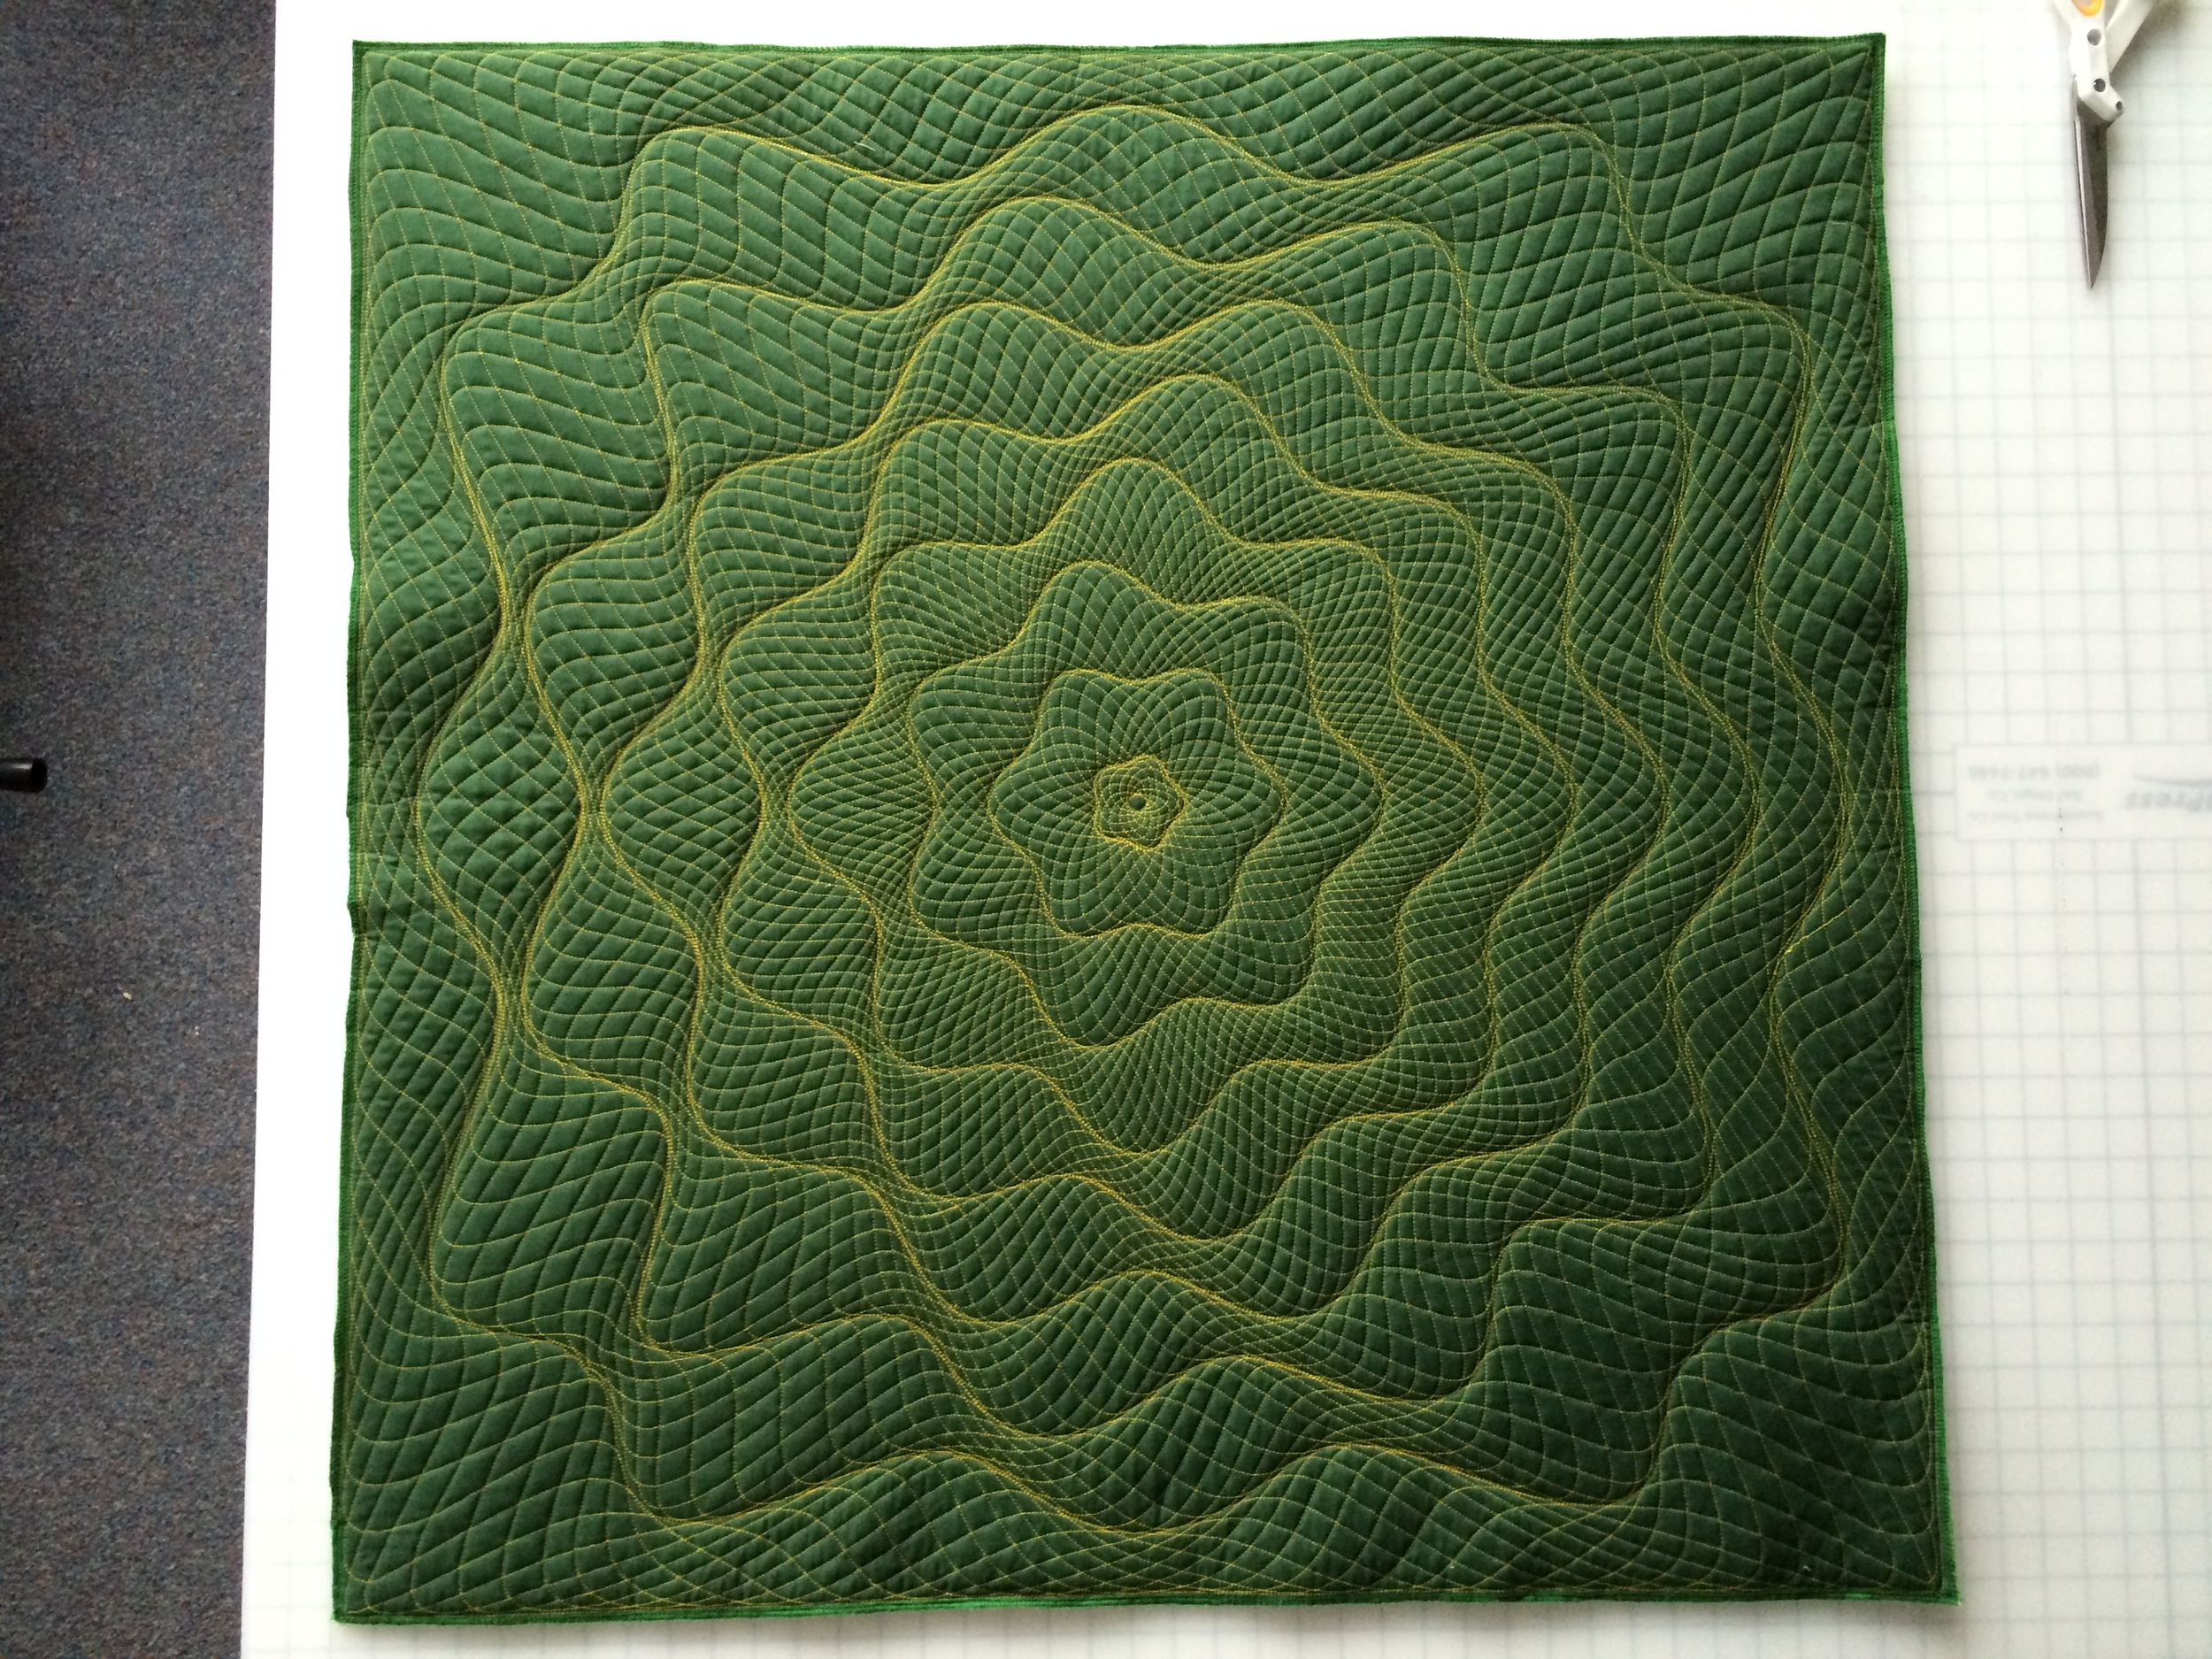
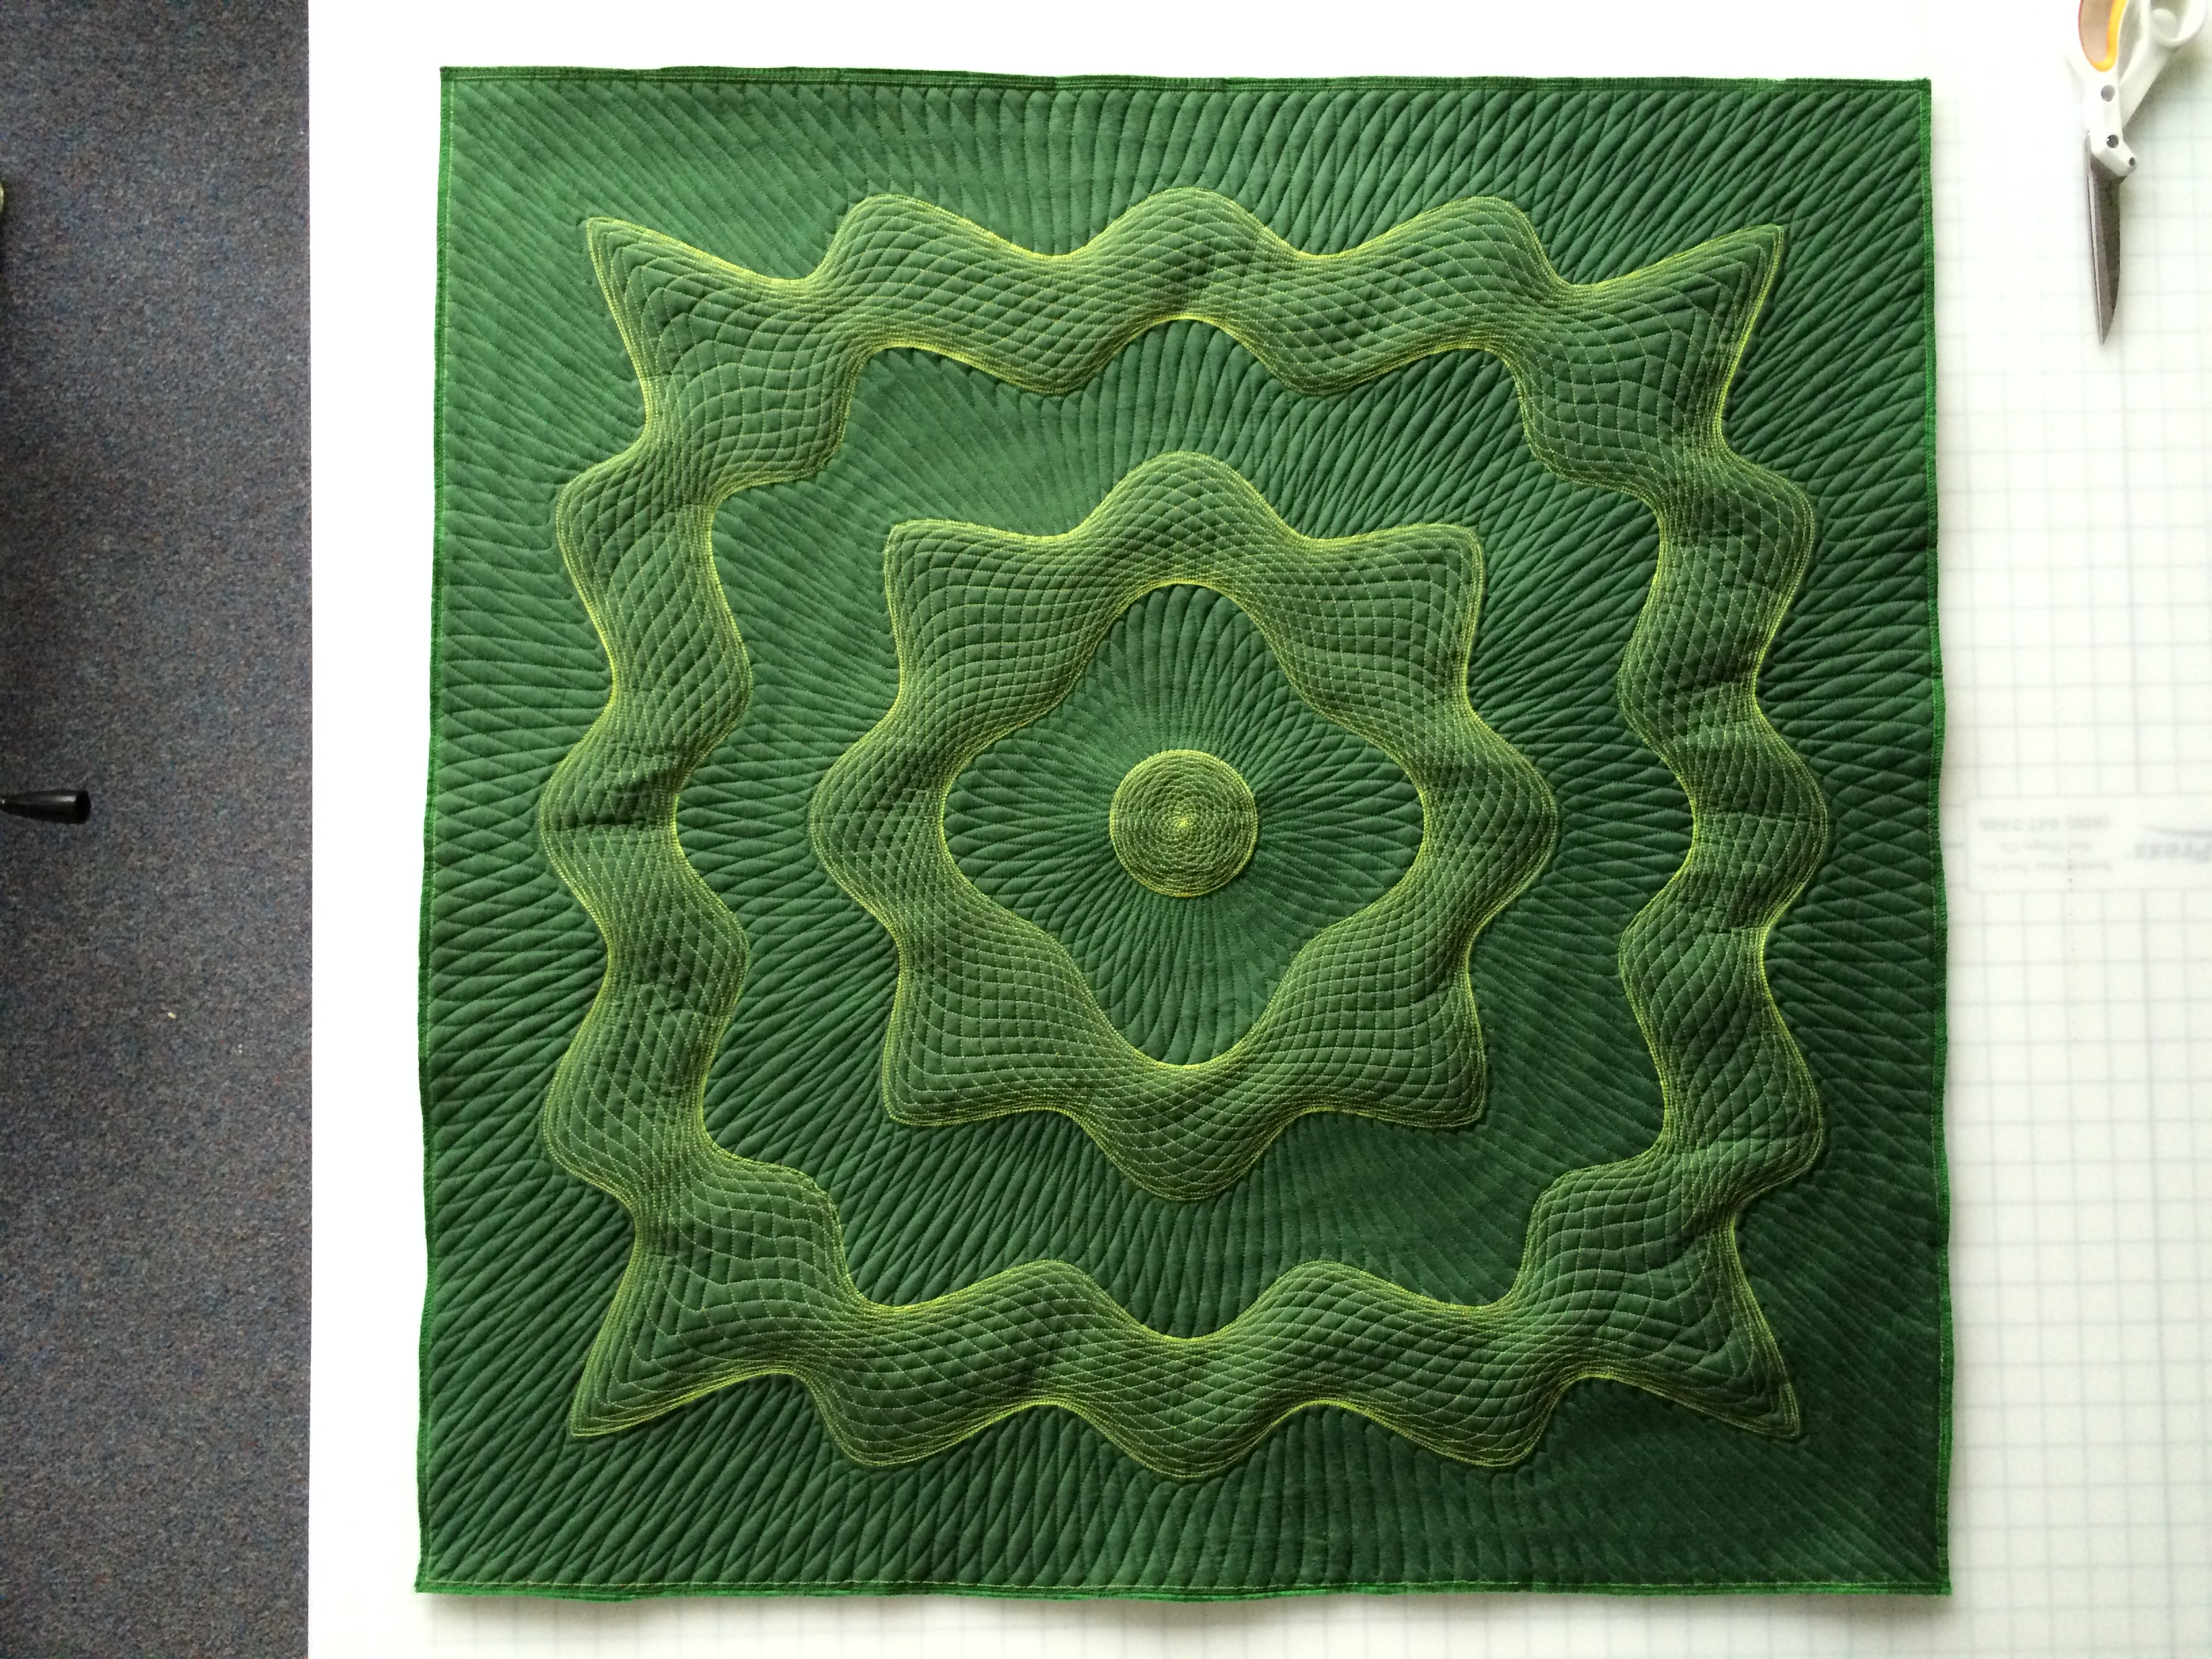
What makes this quilt different from a regular one is that some parts of it are lofted over others, because it has two separate layers of batting, and some parts are stitched through only the top layer, meaning they puff up higher than the parts that are stitched through both layers.
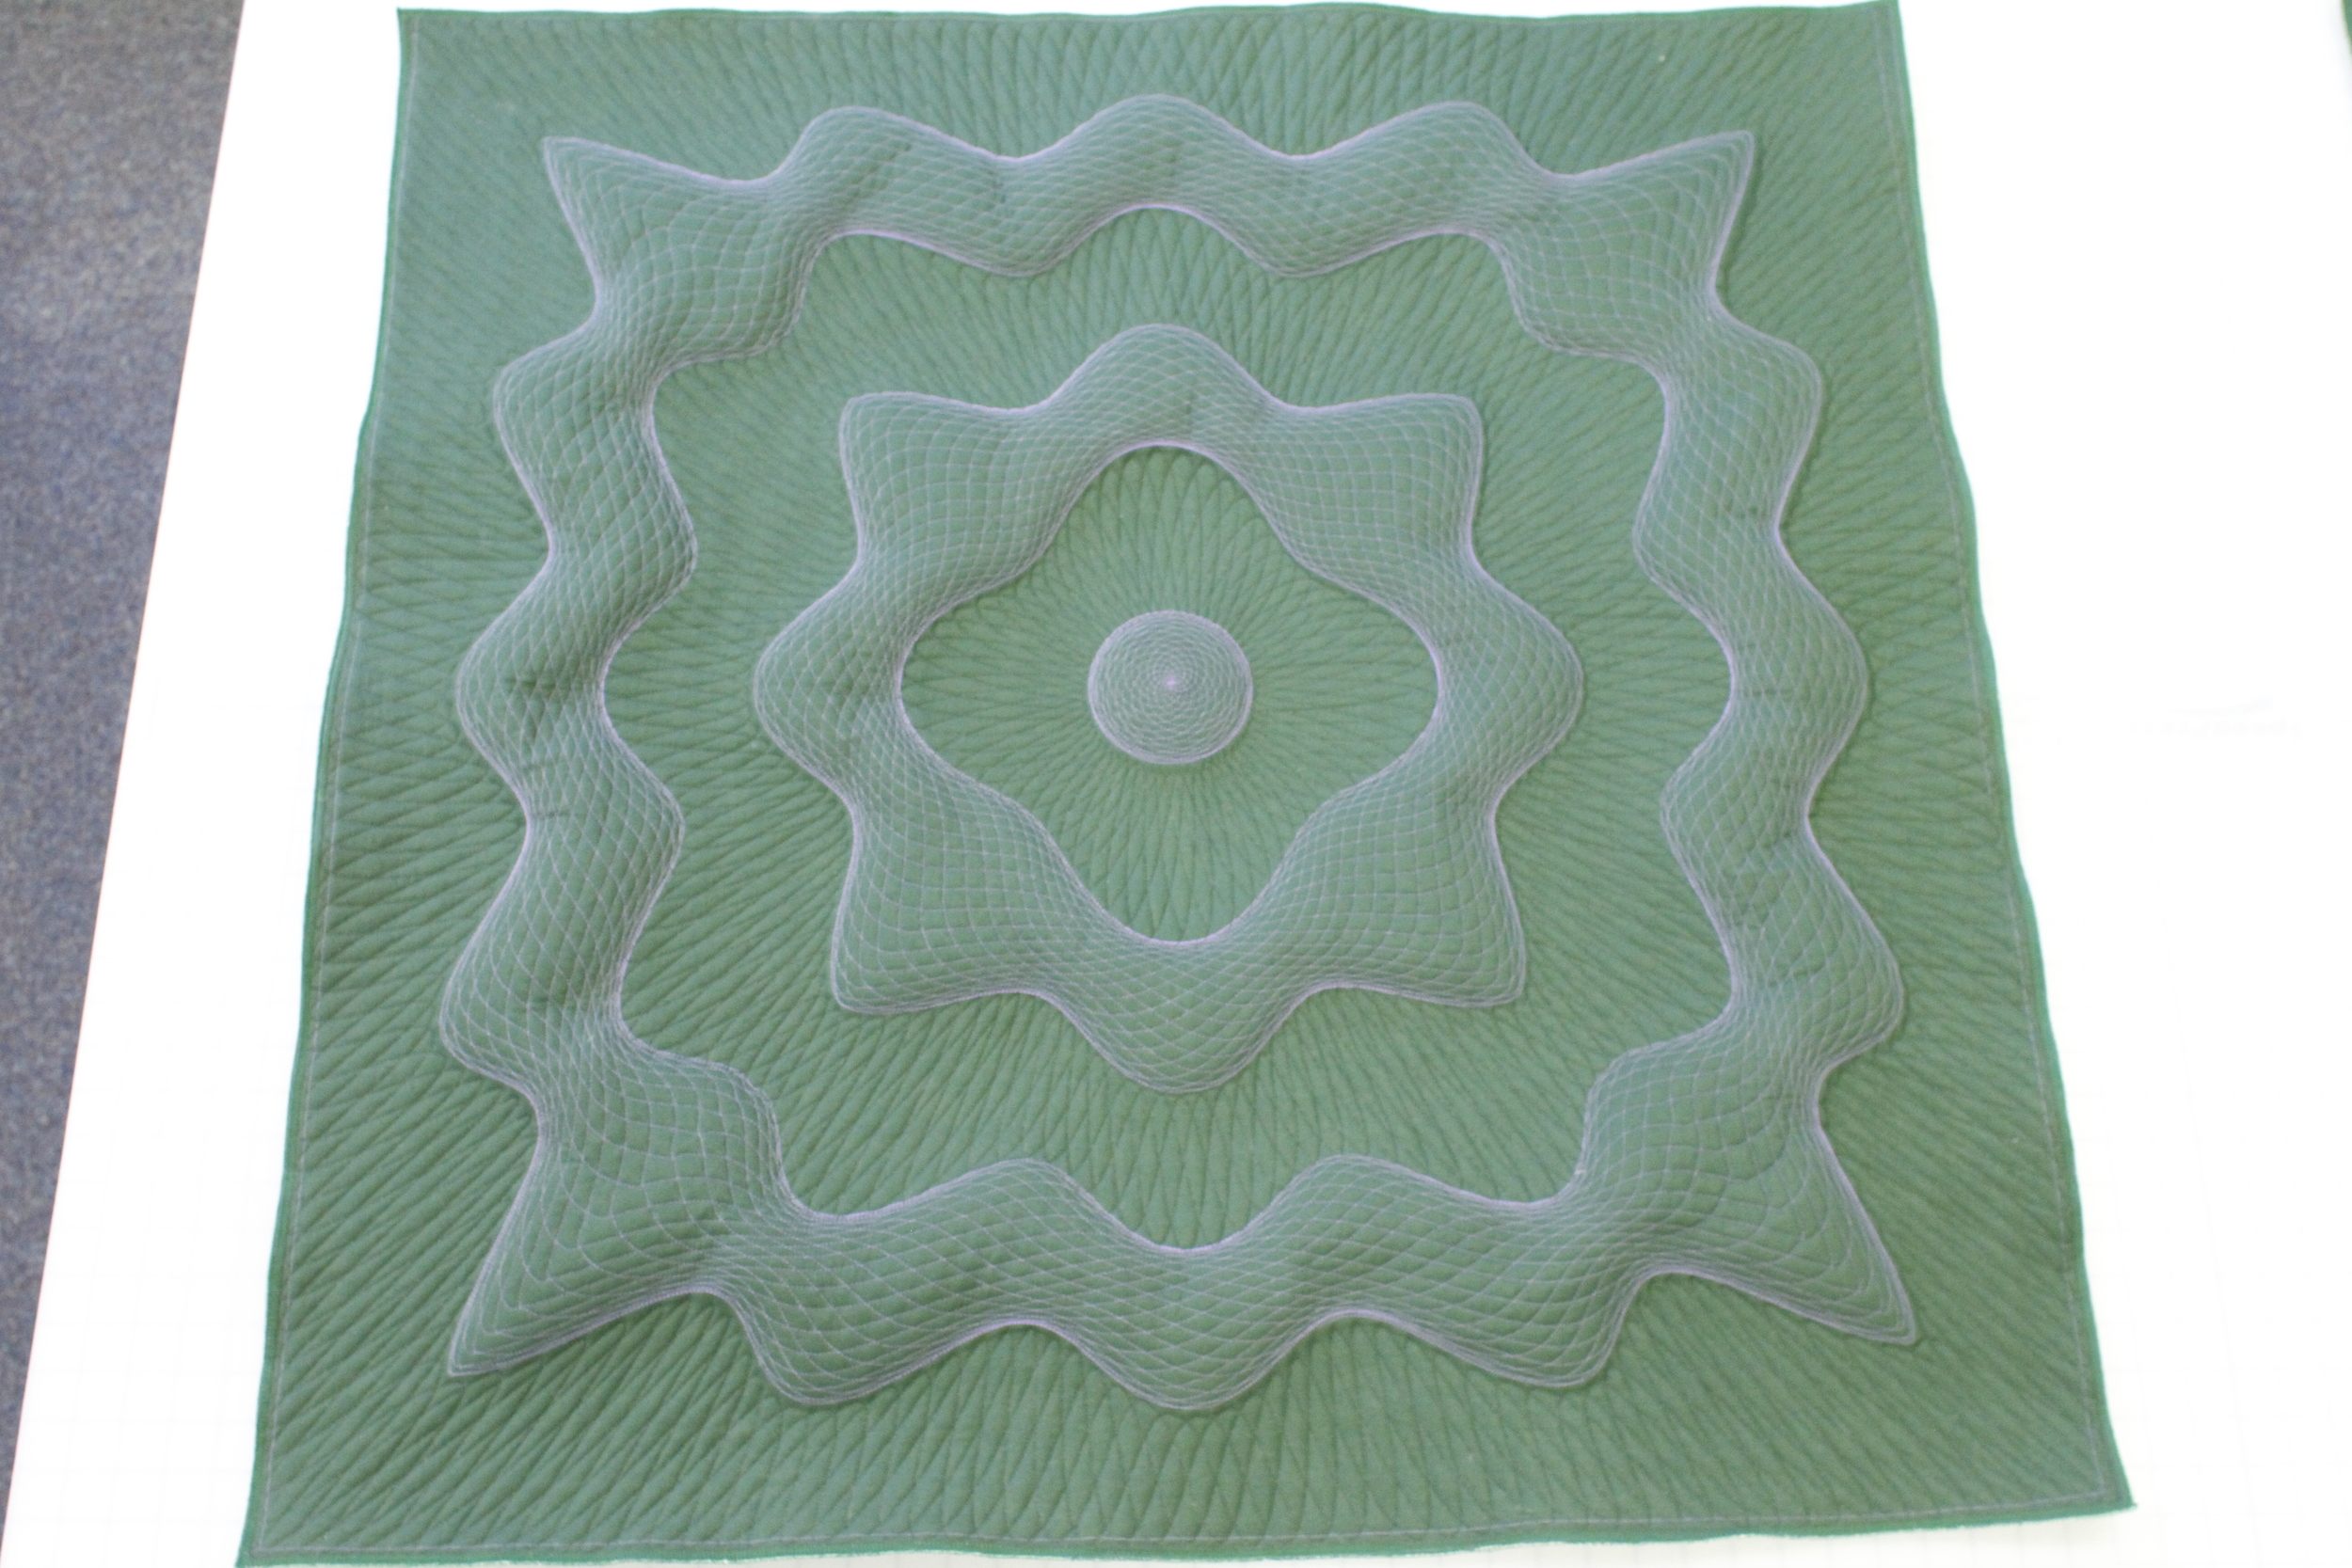
The wavy ribbons look like they're popped above the rest of the quilt even in the flat pattern file, but in the real thing they actually are popped up, as you can see from the side view.
I loaded the machine with a standard sandwich of fabric-batting-fabric, then stitched the two rings (and the disk in the middle). Then I took that half-finished quilt entirely off the frame and added a new layer of fabric and a layer of batting on top of that, then put the quilt back on top of those, creating a Big Mac stack of fabric-batting-fabric-batting-fabric. I stitched the three in-between zones through all of those layers. That way the two rings and the disk float above the background.
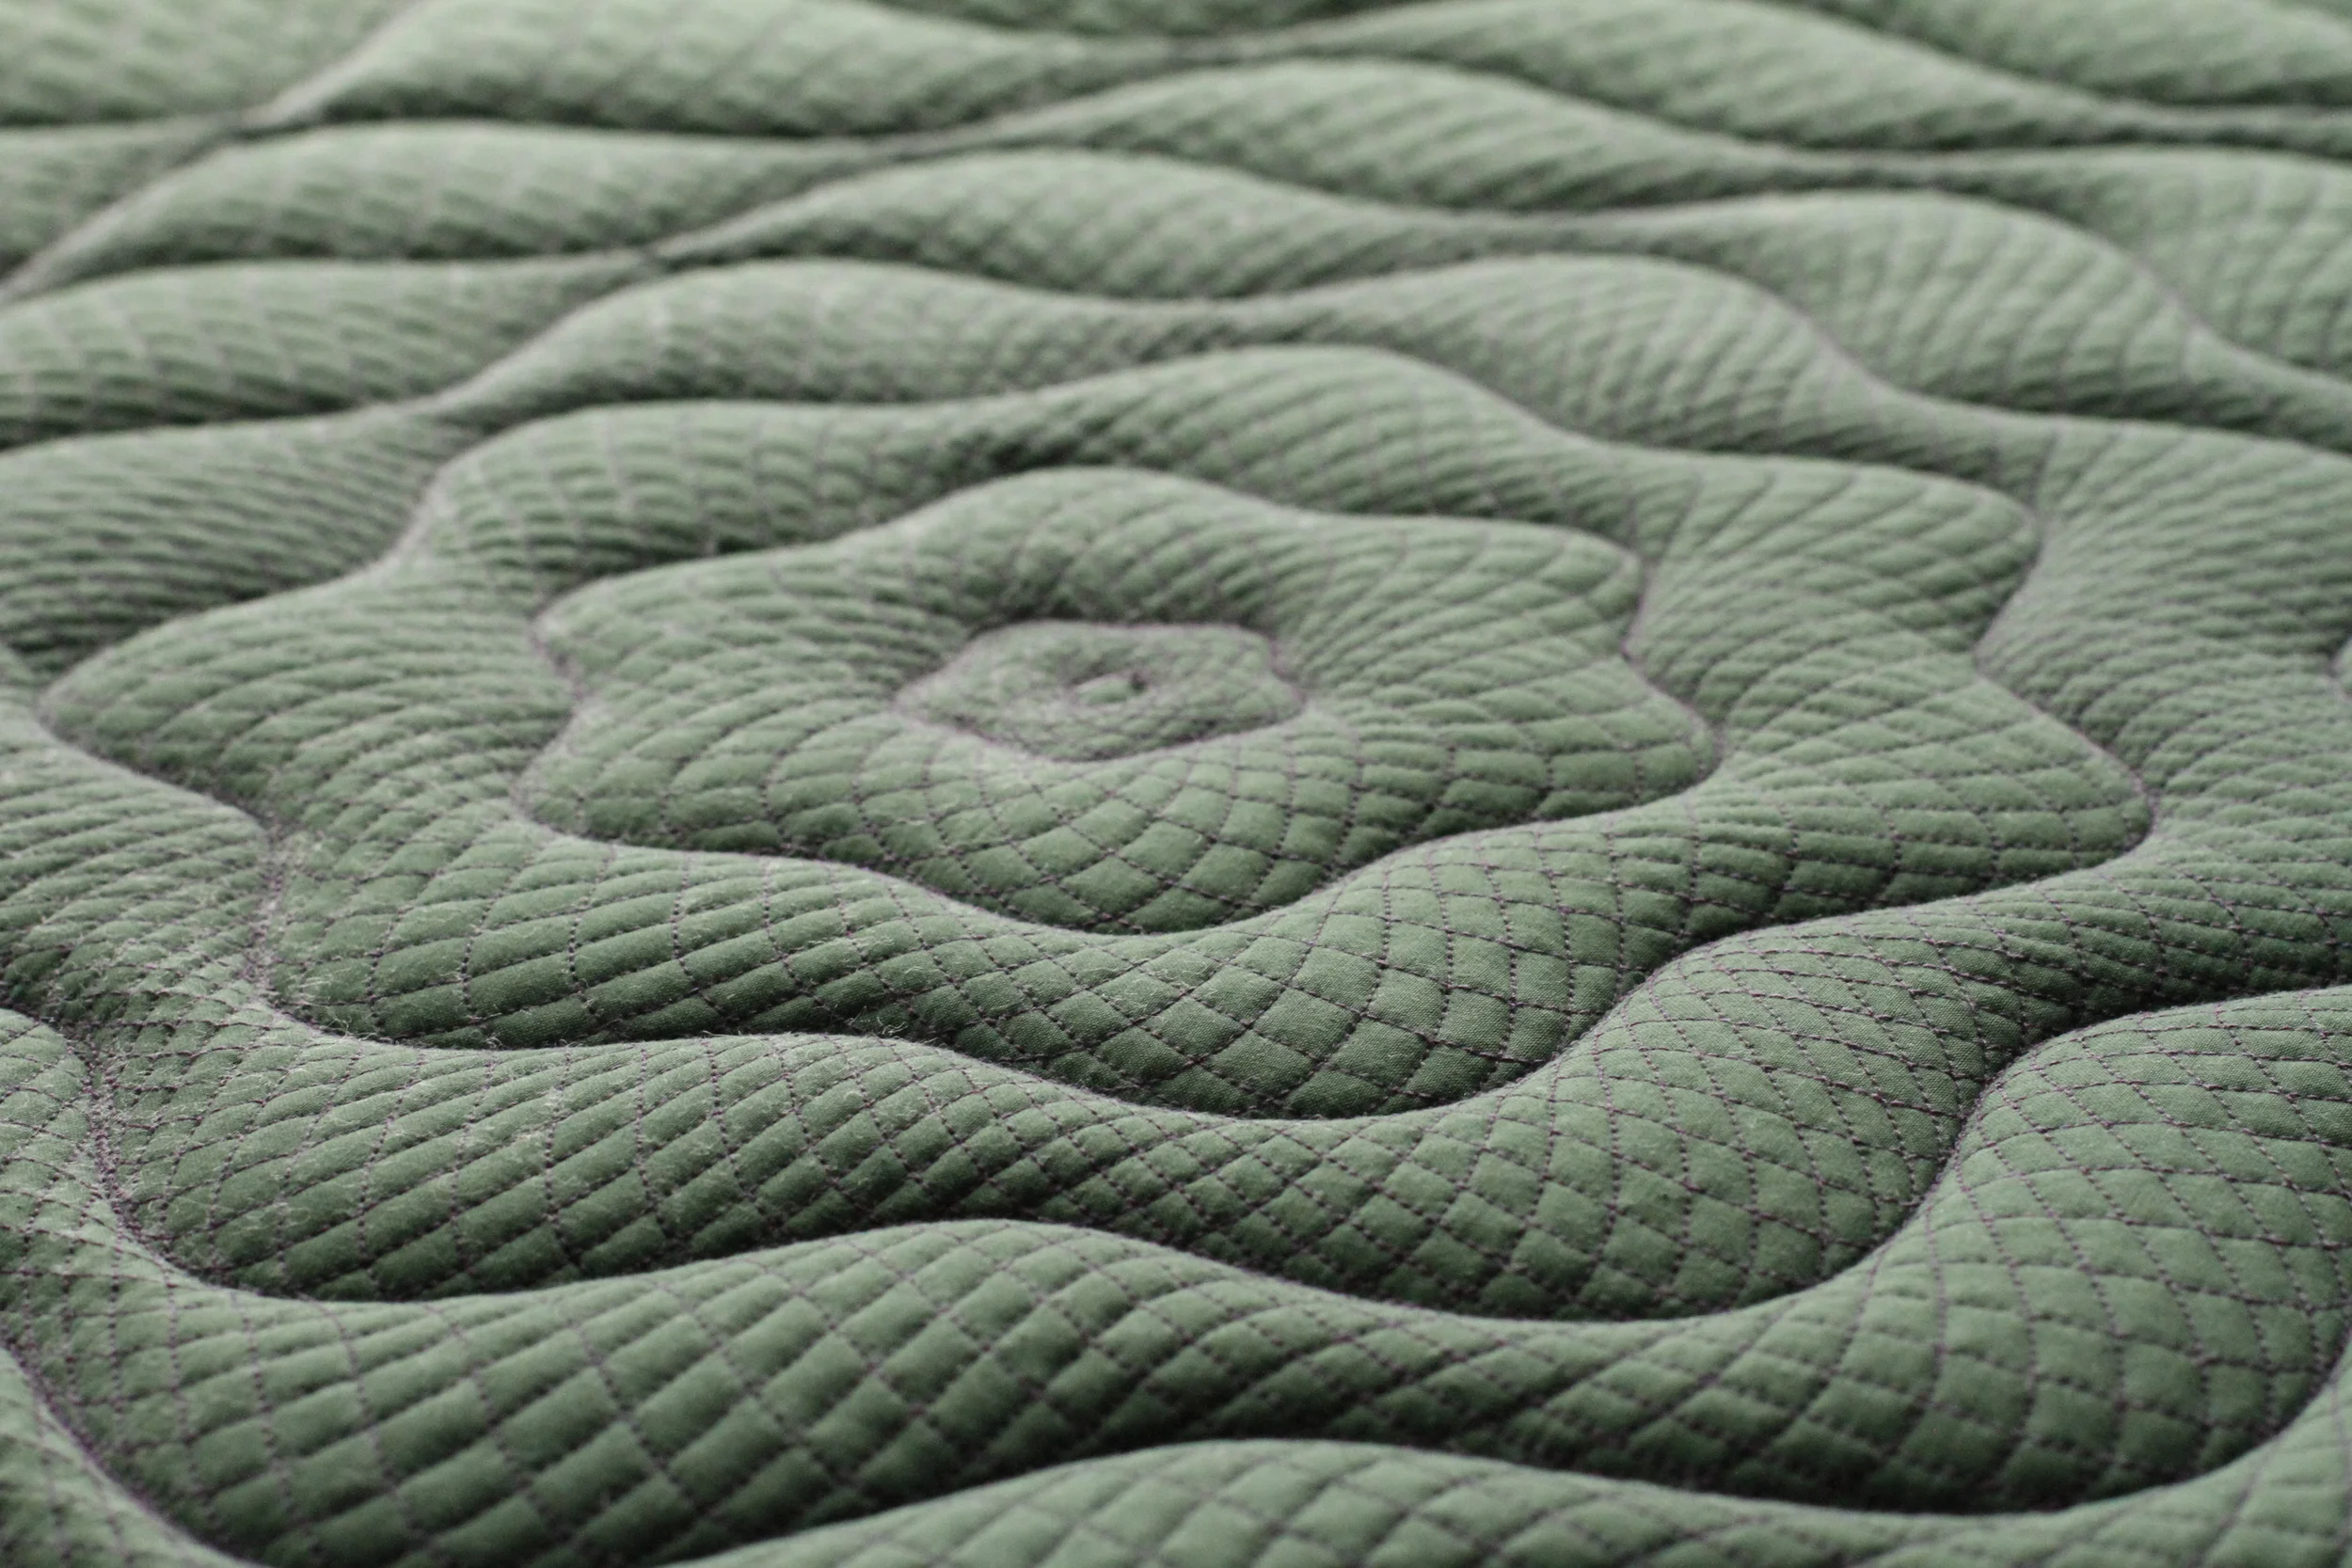
Here's a second pattern I did the same thing to, except here all of it is floating, with just a few rings of stitching separating each zone.
By the way, needless to say, these designs were made in Mathematica. I created a little nested-braids editing tool to pick the specific parameters:
Here's a gallery of all the pictures of the new, thicker version:
And here's a gallery of all the pictures of the old, thinner version:


